
Releasing a stuck Sacrum
A common culprit for lower back / hip pain is if our sacrum becomes ‘stuck’, restricting movement in our hips and spine.
The sacrum in itself moves very little, primarily gliding and rotating within the sacroiliac joints, with typical motion around 2-4 millimeters of translation and degrees of rotation. But this movement is crucial for shock absorption, weight transfer, and facilitating gait, and it's tightly controlled by strong ligaments, with more motion in women (especially during pregnancy).

Potential inflamation of the sacroiliac joints.
Ideally this movement is not inhibited and the Ilium and Sacrum can move freely with respect to eachother. This movement is essential for the spine’s stability and strength.

Sacral ligaments
Sacral ligaments provide crucial stability for the pelvic ring, connecting the sacrum to the ilium (hip bones) to stabilize the sacroiliac (SI) joint, transfer load from spine to legs, absorb shock, and control movement like nutation (forward tilting) during walking and childbirth.
Sometimes these ligaments can become inflamed, or are triggered into a reflex response to tighten up and restrict the movement of the scrum for safety reasons. Surrounding muscles can also tighten up to restrict this movement. Potentially this happens from a sharp sudden movement the body isn’t ready for, prolonged time in the wrong position ( posturally ), or excessive movement from over stretching to name but a few.
Remember. Your body is very complex and smart. Limiting this movement happens for a reason.
Understanding the cause of this restriction is crucial so we can develop better movement patterns. Some of the symptoms will include:
Pain, restricted movement while squattting and bending forward.
Pain, restricted movement while bending backwards. Nutation of the sacrum, especially backbends that require supporting the spine that aren’t passive.
Dull painful ache on one side of the hip that is localised.
Can refer pain into the lower lumbar on the affected side into the QL muscle.
What is essential is to ‘release’ the sacrum so that it can move freely ( glide ) in it’s natural planes. Below I will share a few simple releases I have found over the years that work well for this.
Generally, you will want to be practicing a balanced Yoga sequence such as The Element Series to stretch and release the surrounding muscles so that your body becomes more balanced in general and these ‘locks’ don’t occur in the future.
Also, as mentioned previously, this can refer tightness to the QL muscles which also can be help by releasing with trigger point therapy. Details here>.
Let’s look at a couple of simple twists and basic movements that we can use to help release the sacrum.
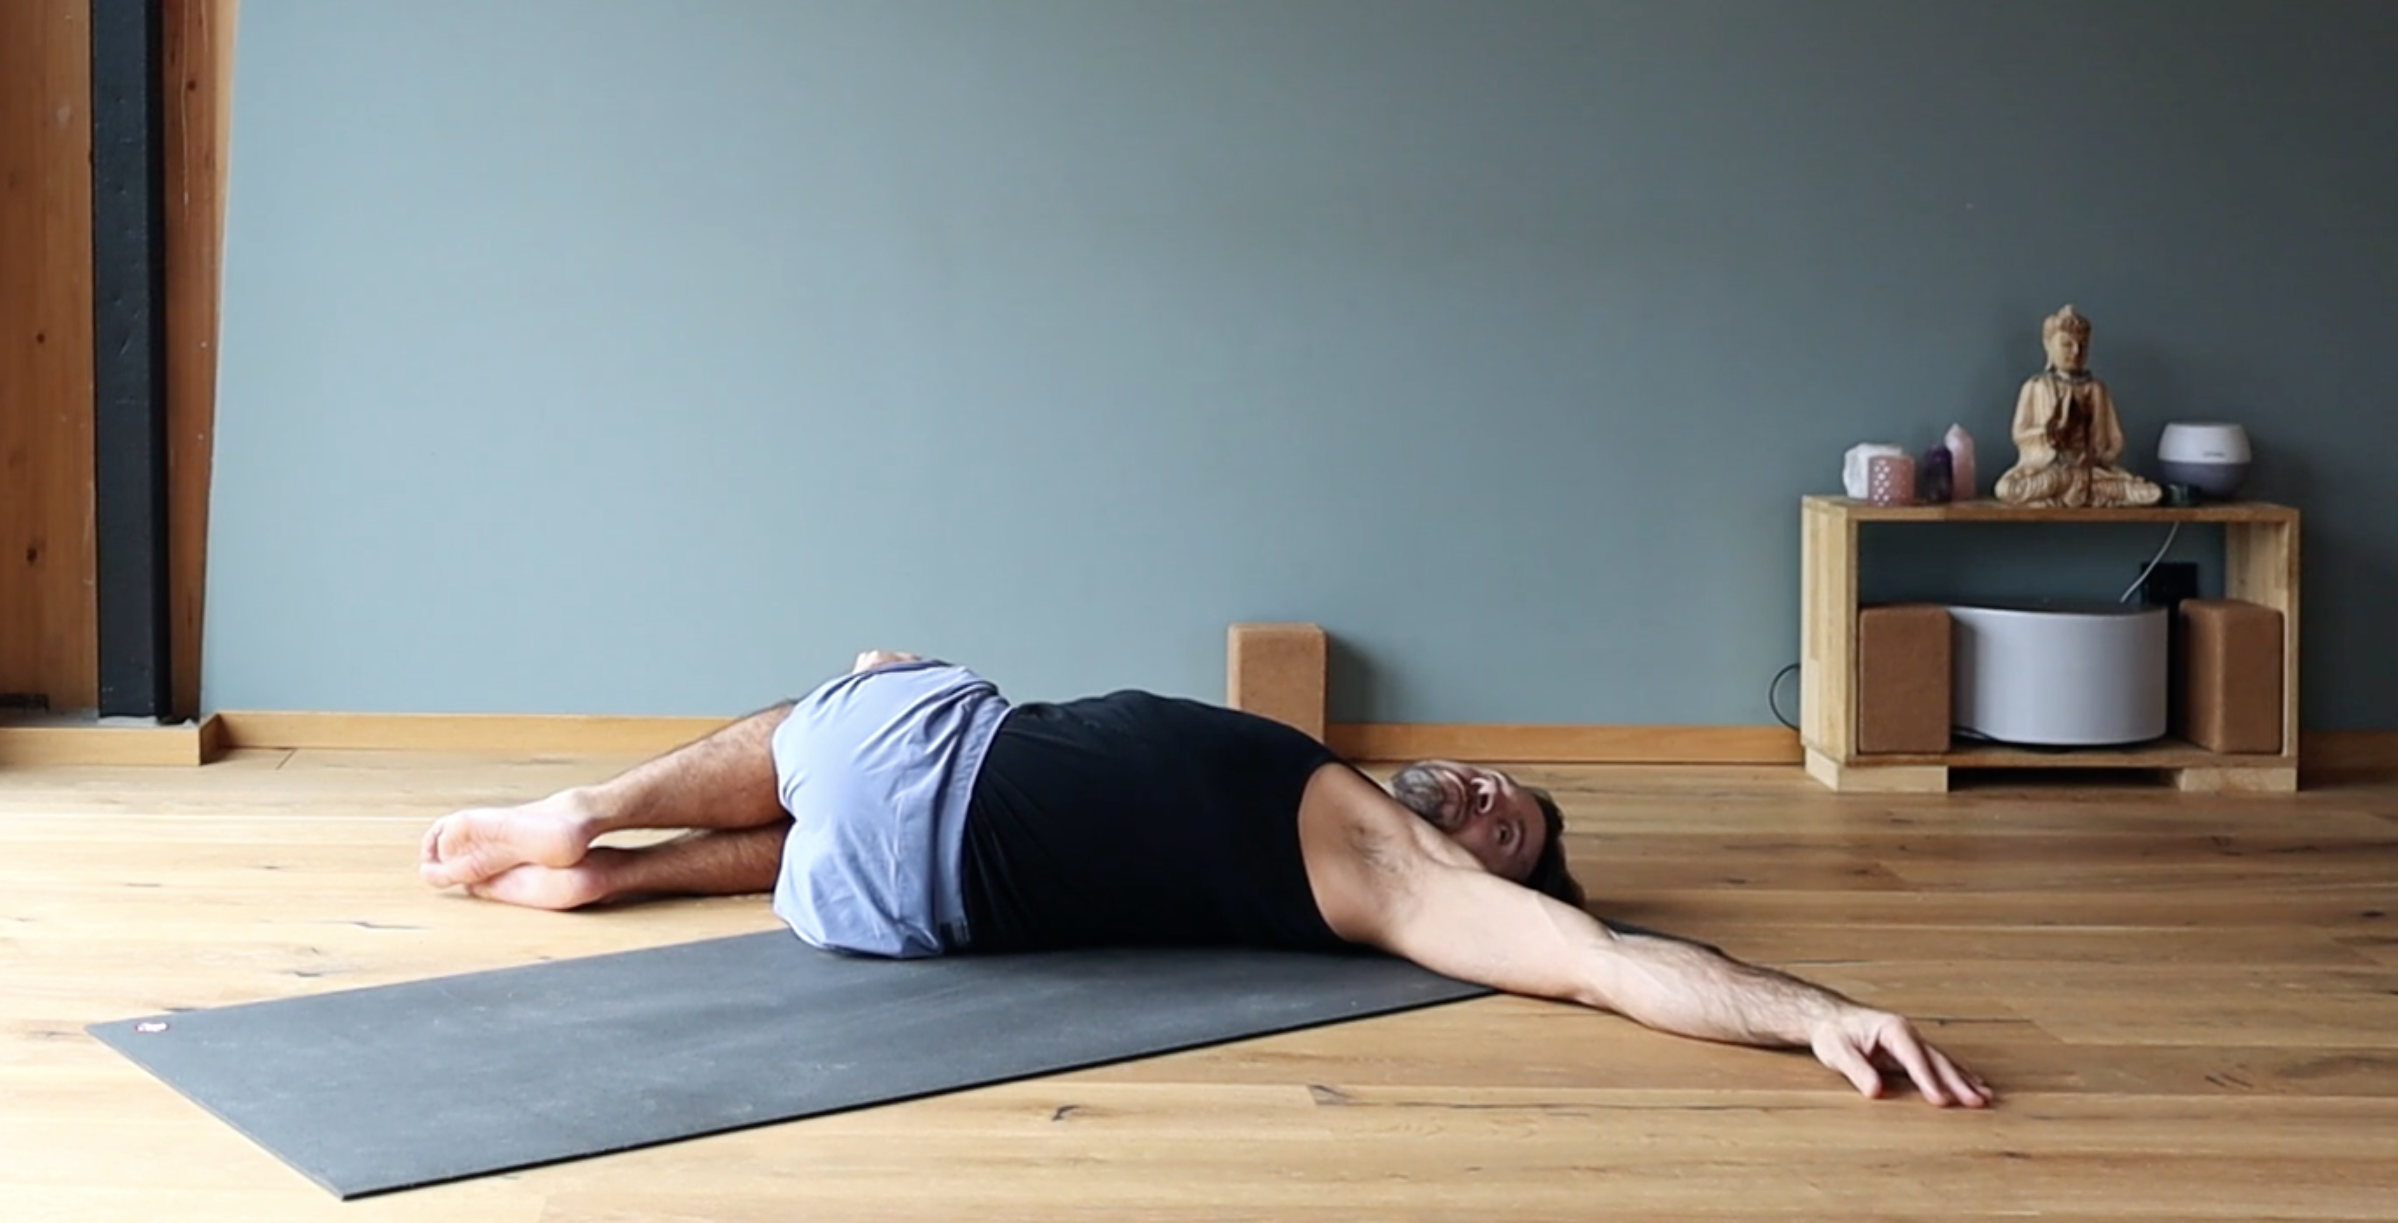
Supine twist
Initially lie down on the floor and twist to the side. Try to keep both shoulders on the floor. You can bring your hand on top of the top thigh to add weight, or maybe straighten your legs if it feels good. We want nice deep long breaths through your nose and stay here for maybe 10 to 15 breaths. Repeat on the other side.
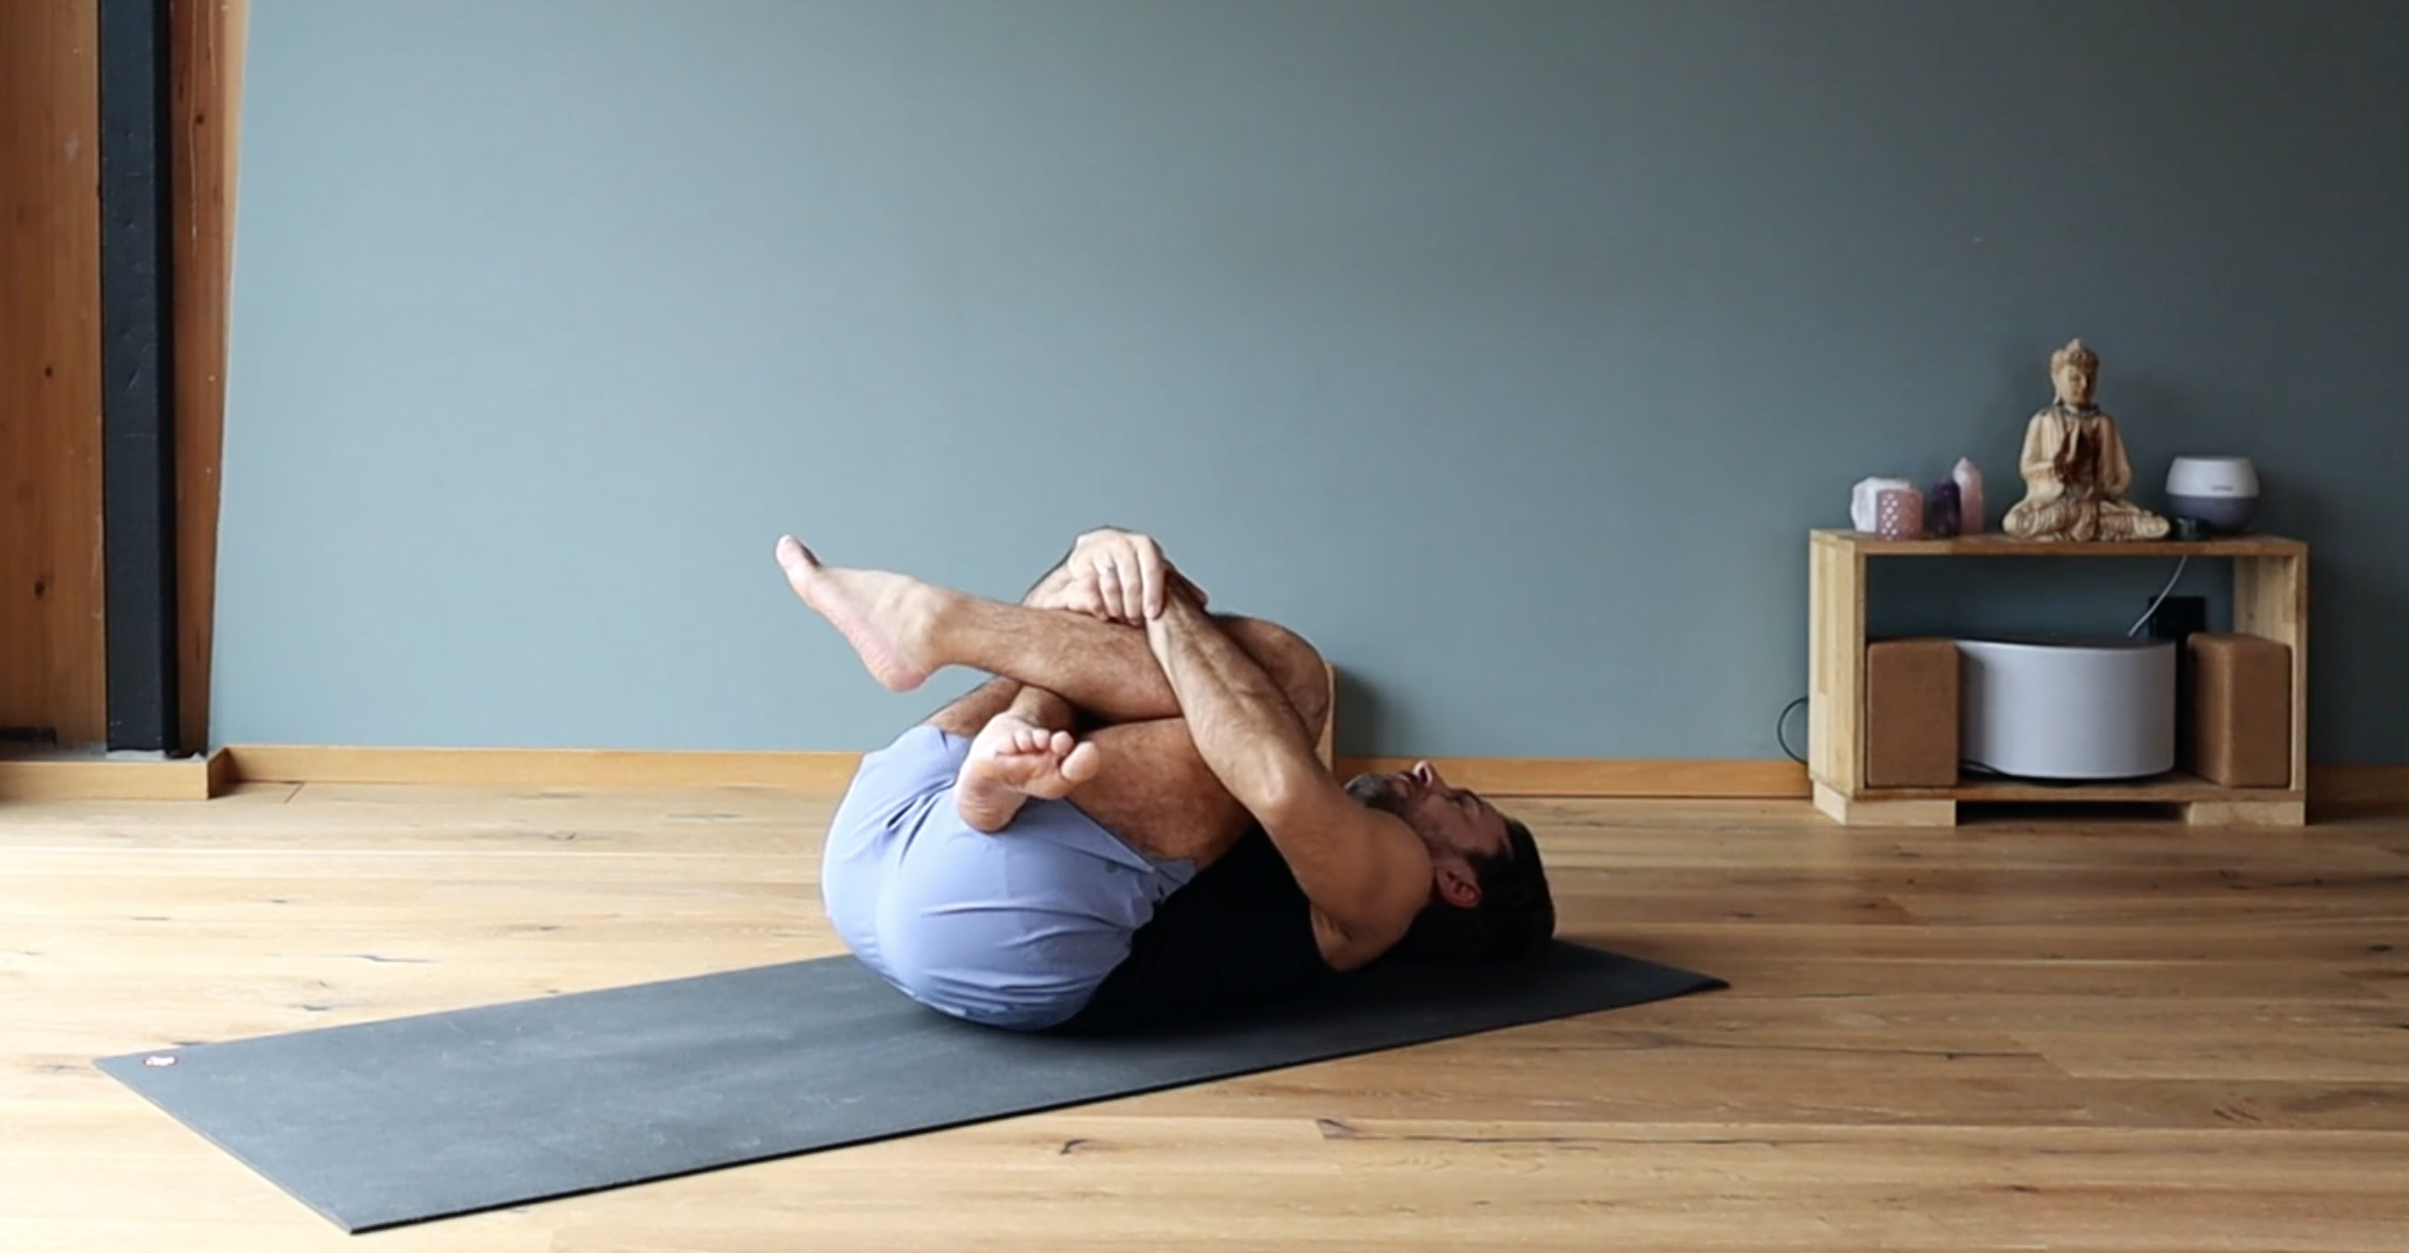
Squeeze
Hug your thighs in between each side.
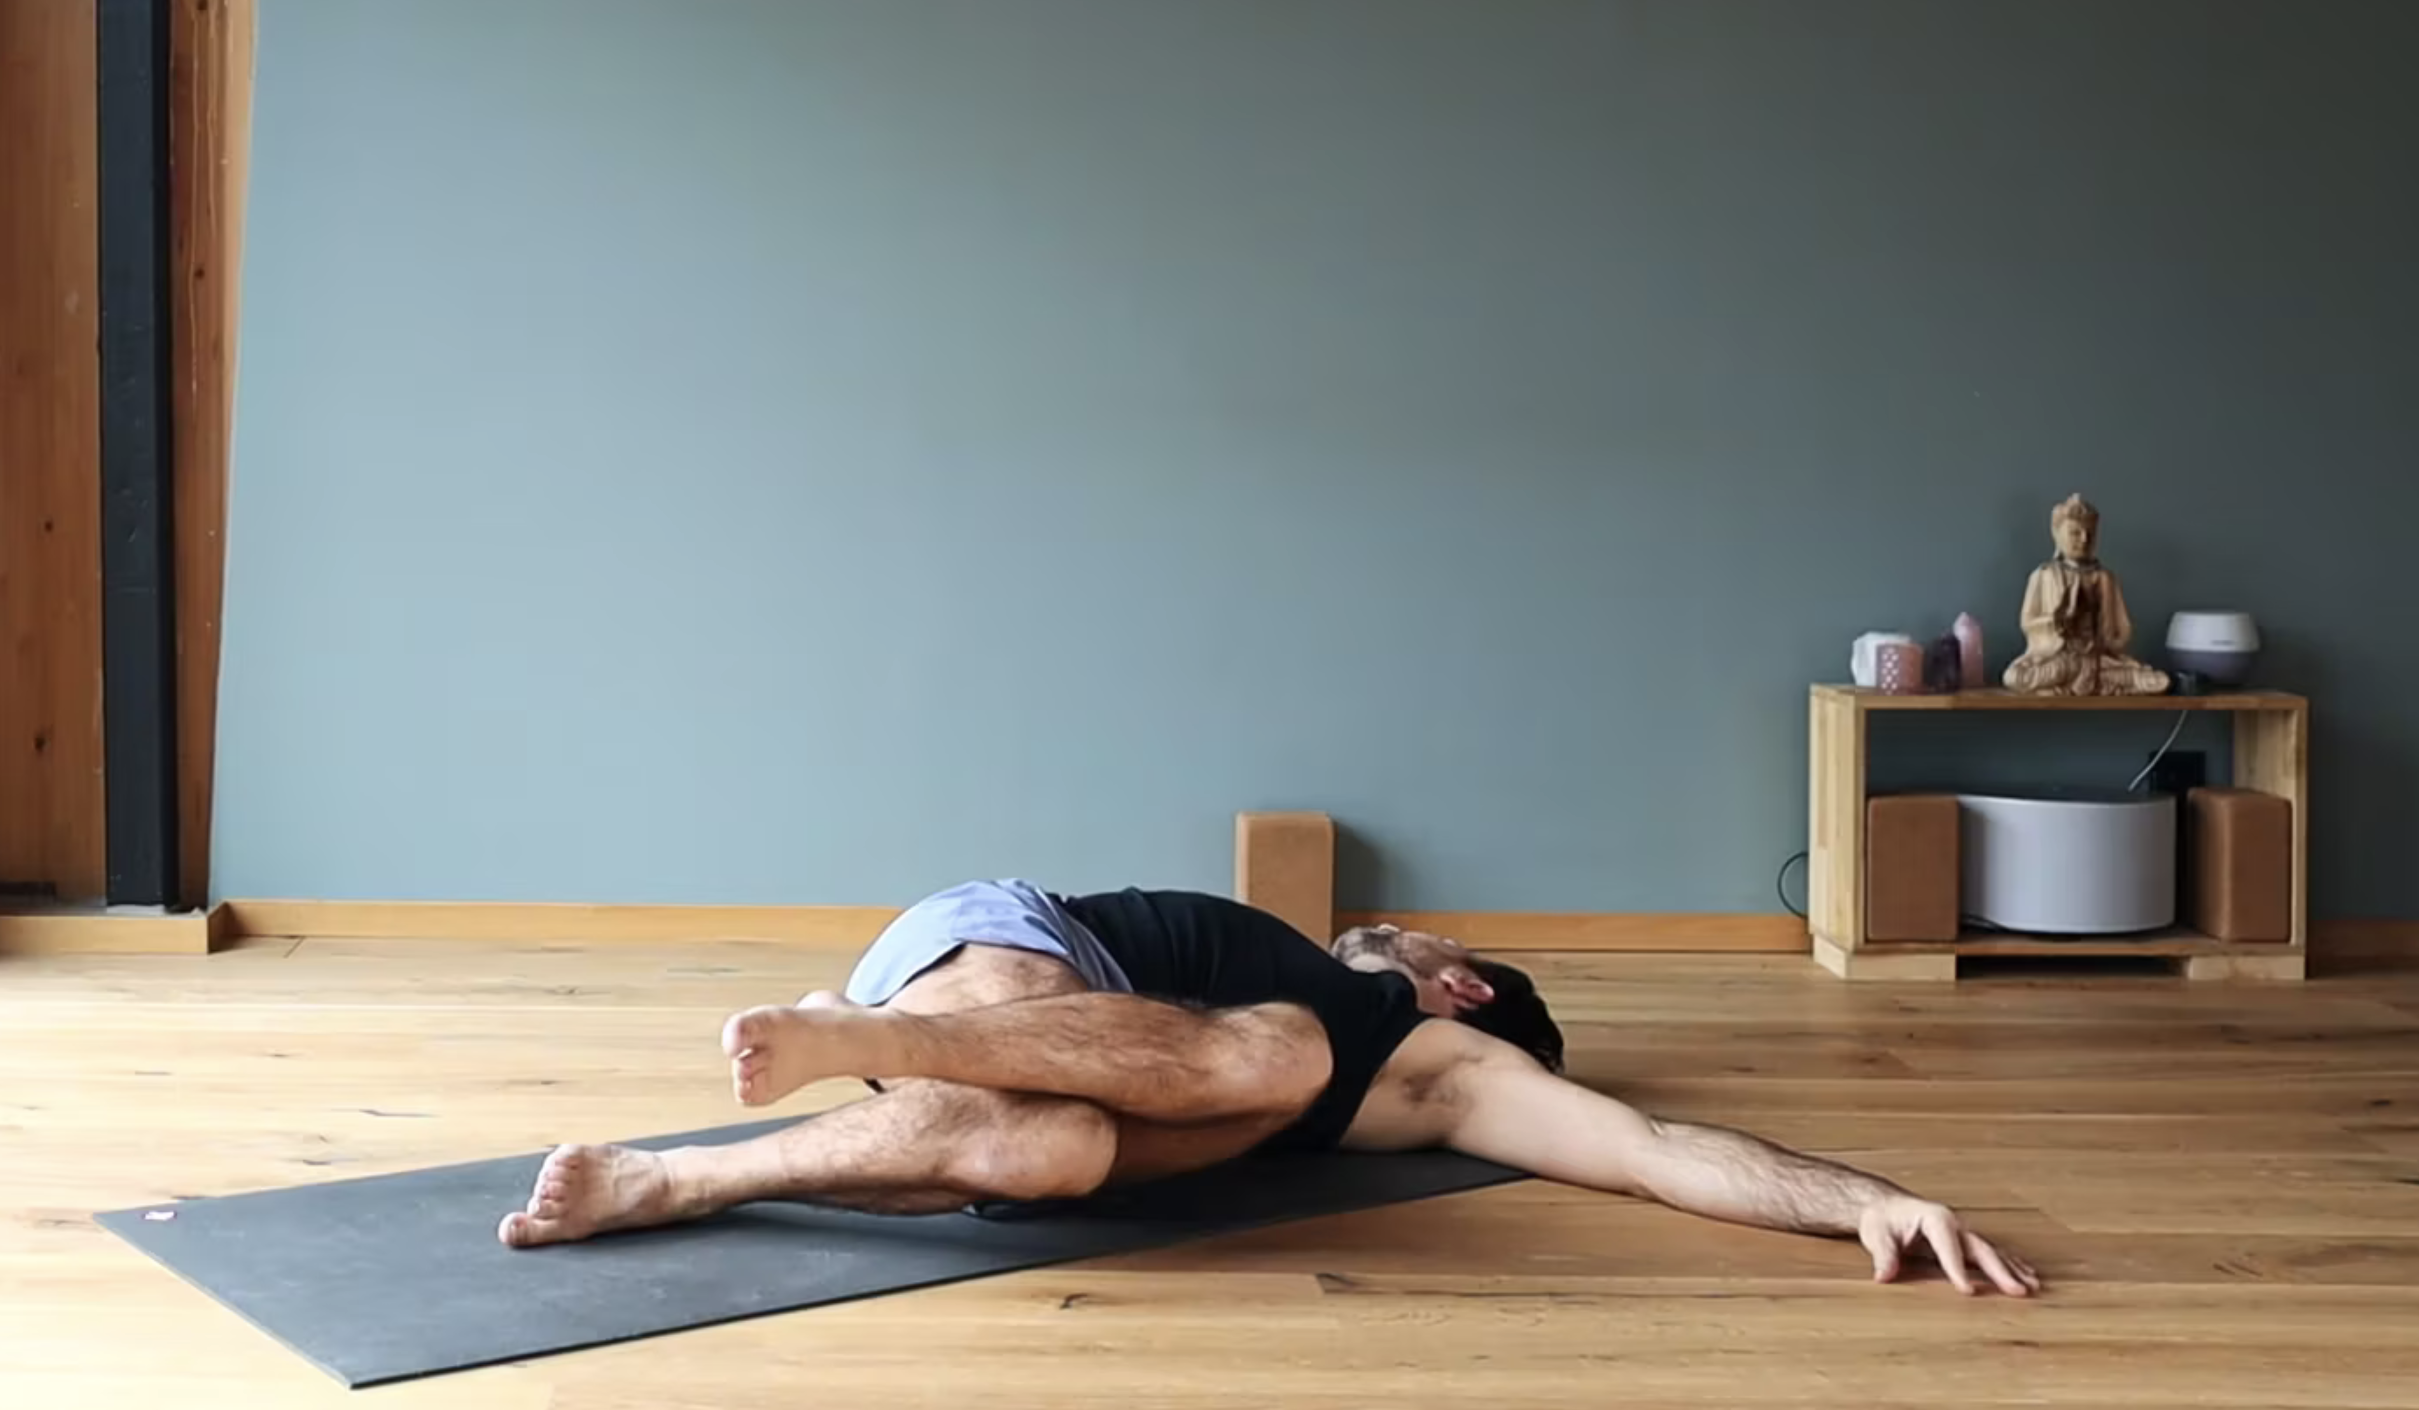
Second twist
For the second twist first cross your left leg over your right as shown above. Then drop both knees to the left side. Again, try to keep both shoulders on the floor. You might hear a pop or a click in your low back here, but it will likely feel good. Nice deep long breaths through your nose and stay here for maybe 10 to 15 breaths. Repeat on the other side with the opposite leg on top.
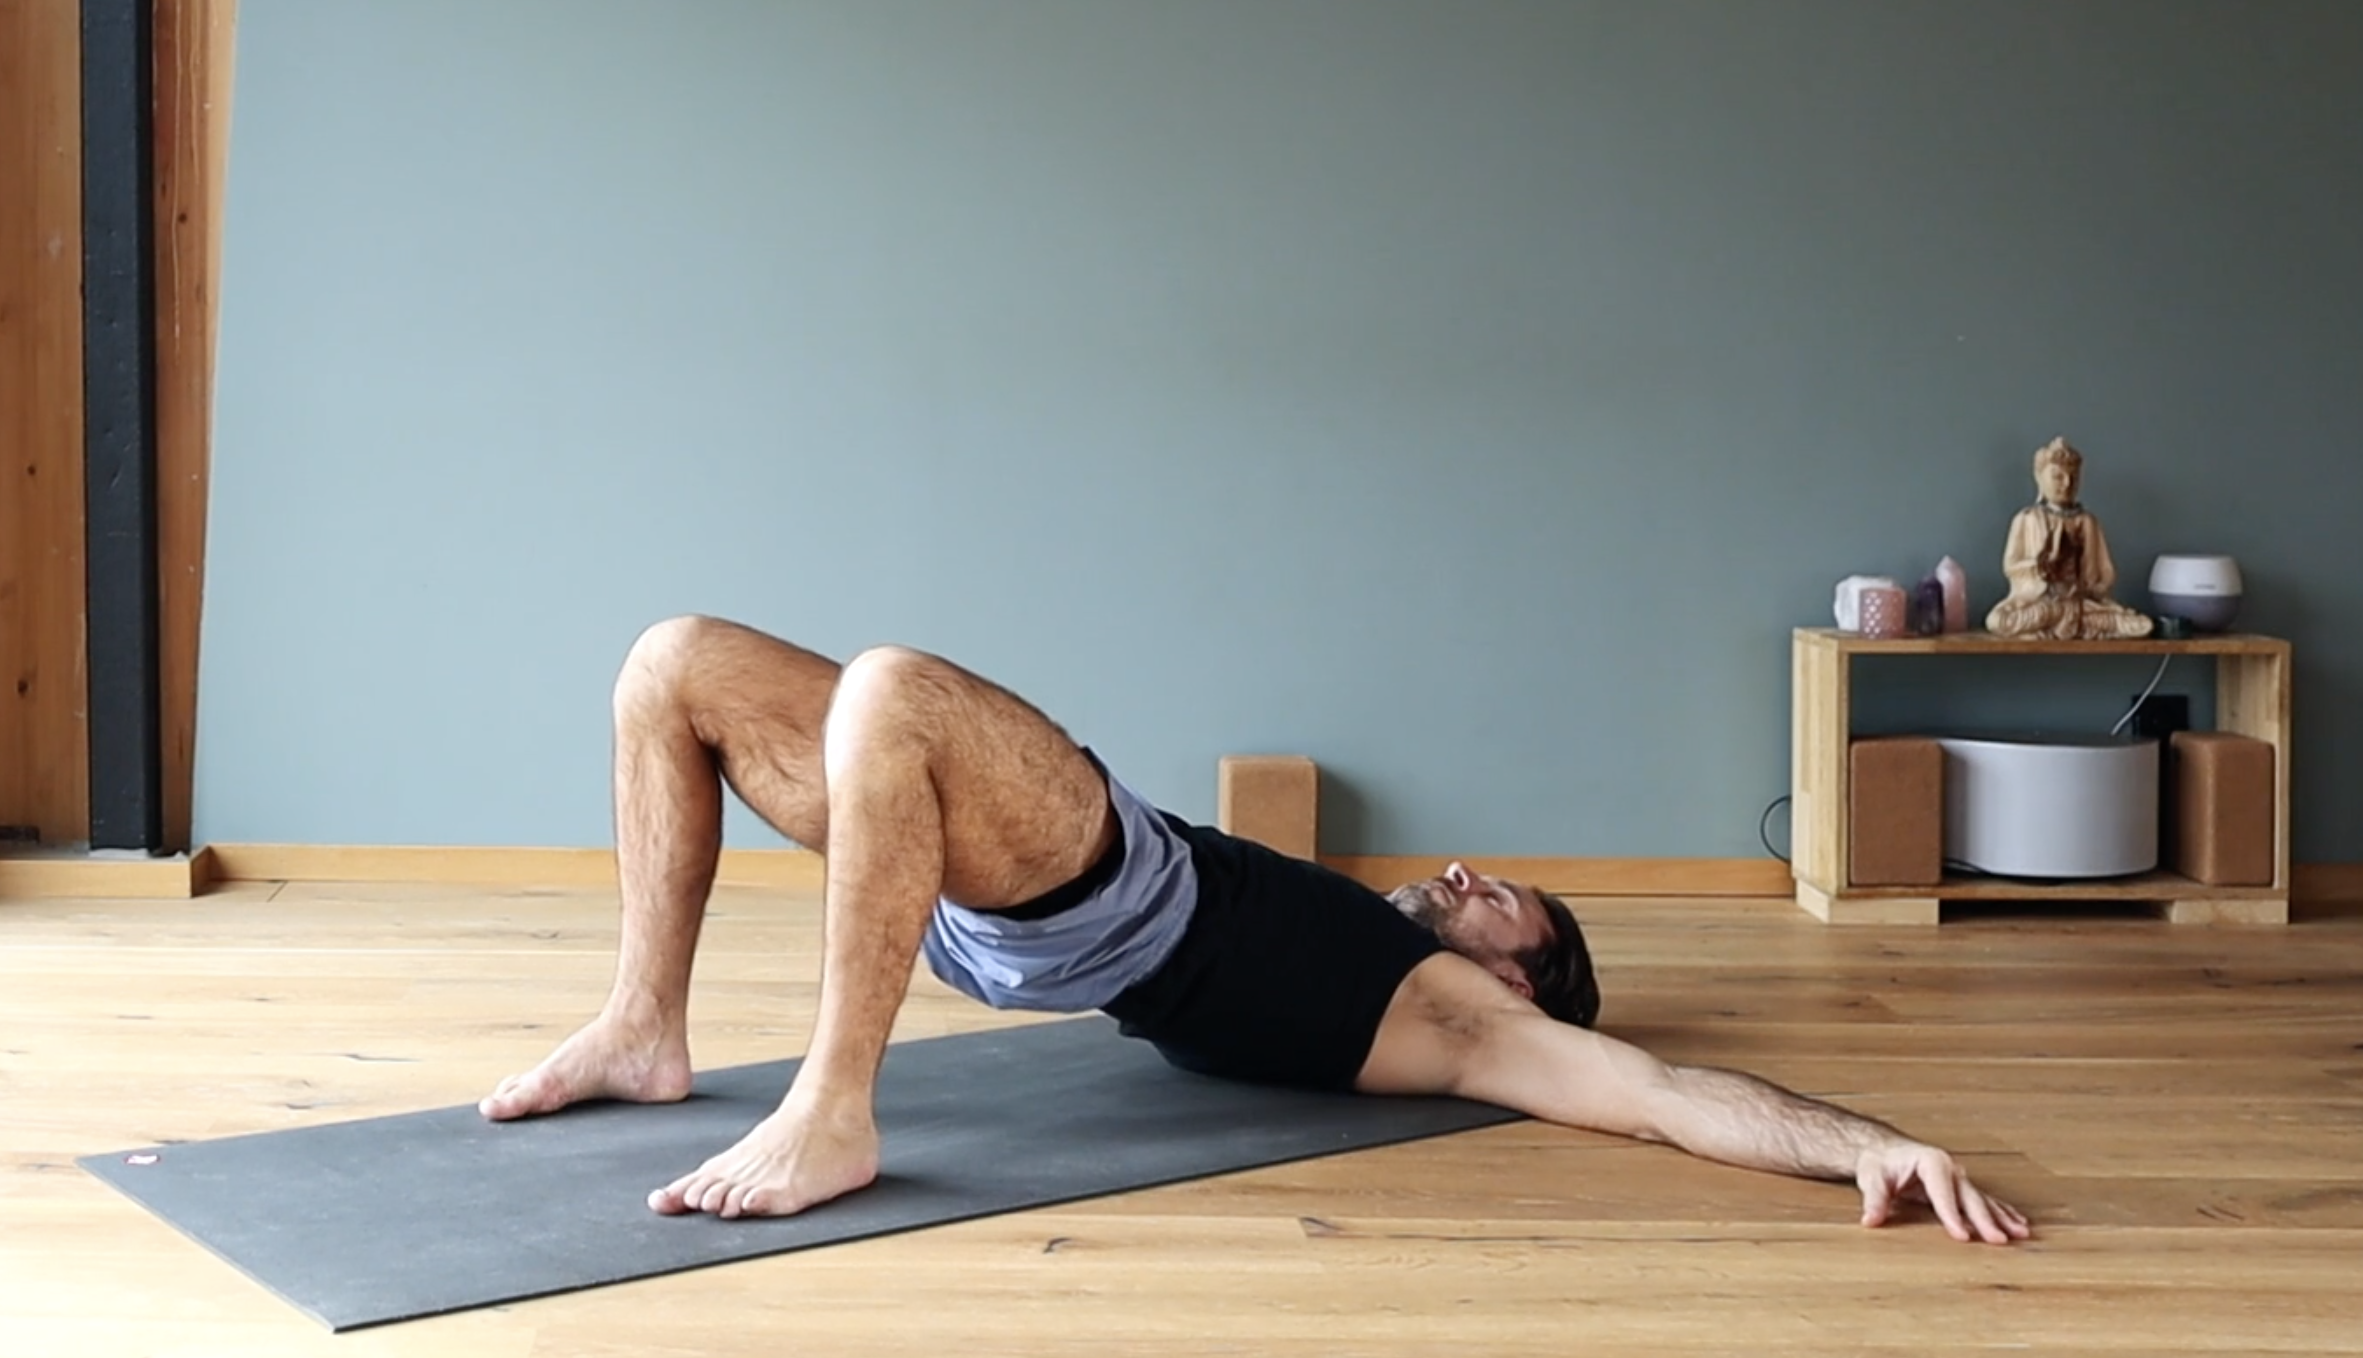
Hip thrust.
In between each side perform a strong hip thrust.
Now let’s check in on the hips and extension.
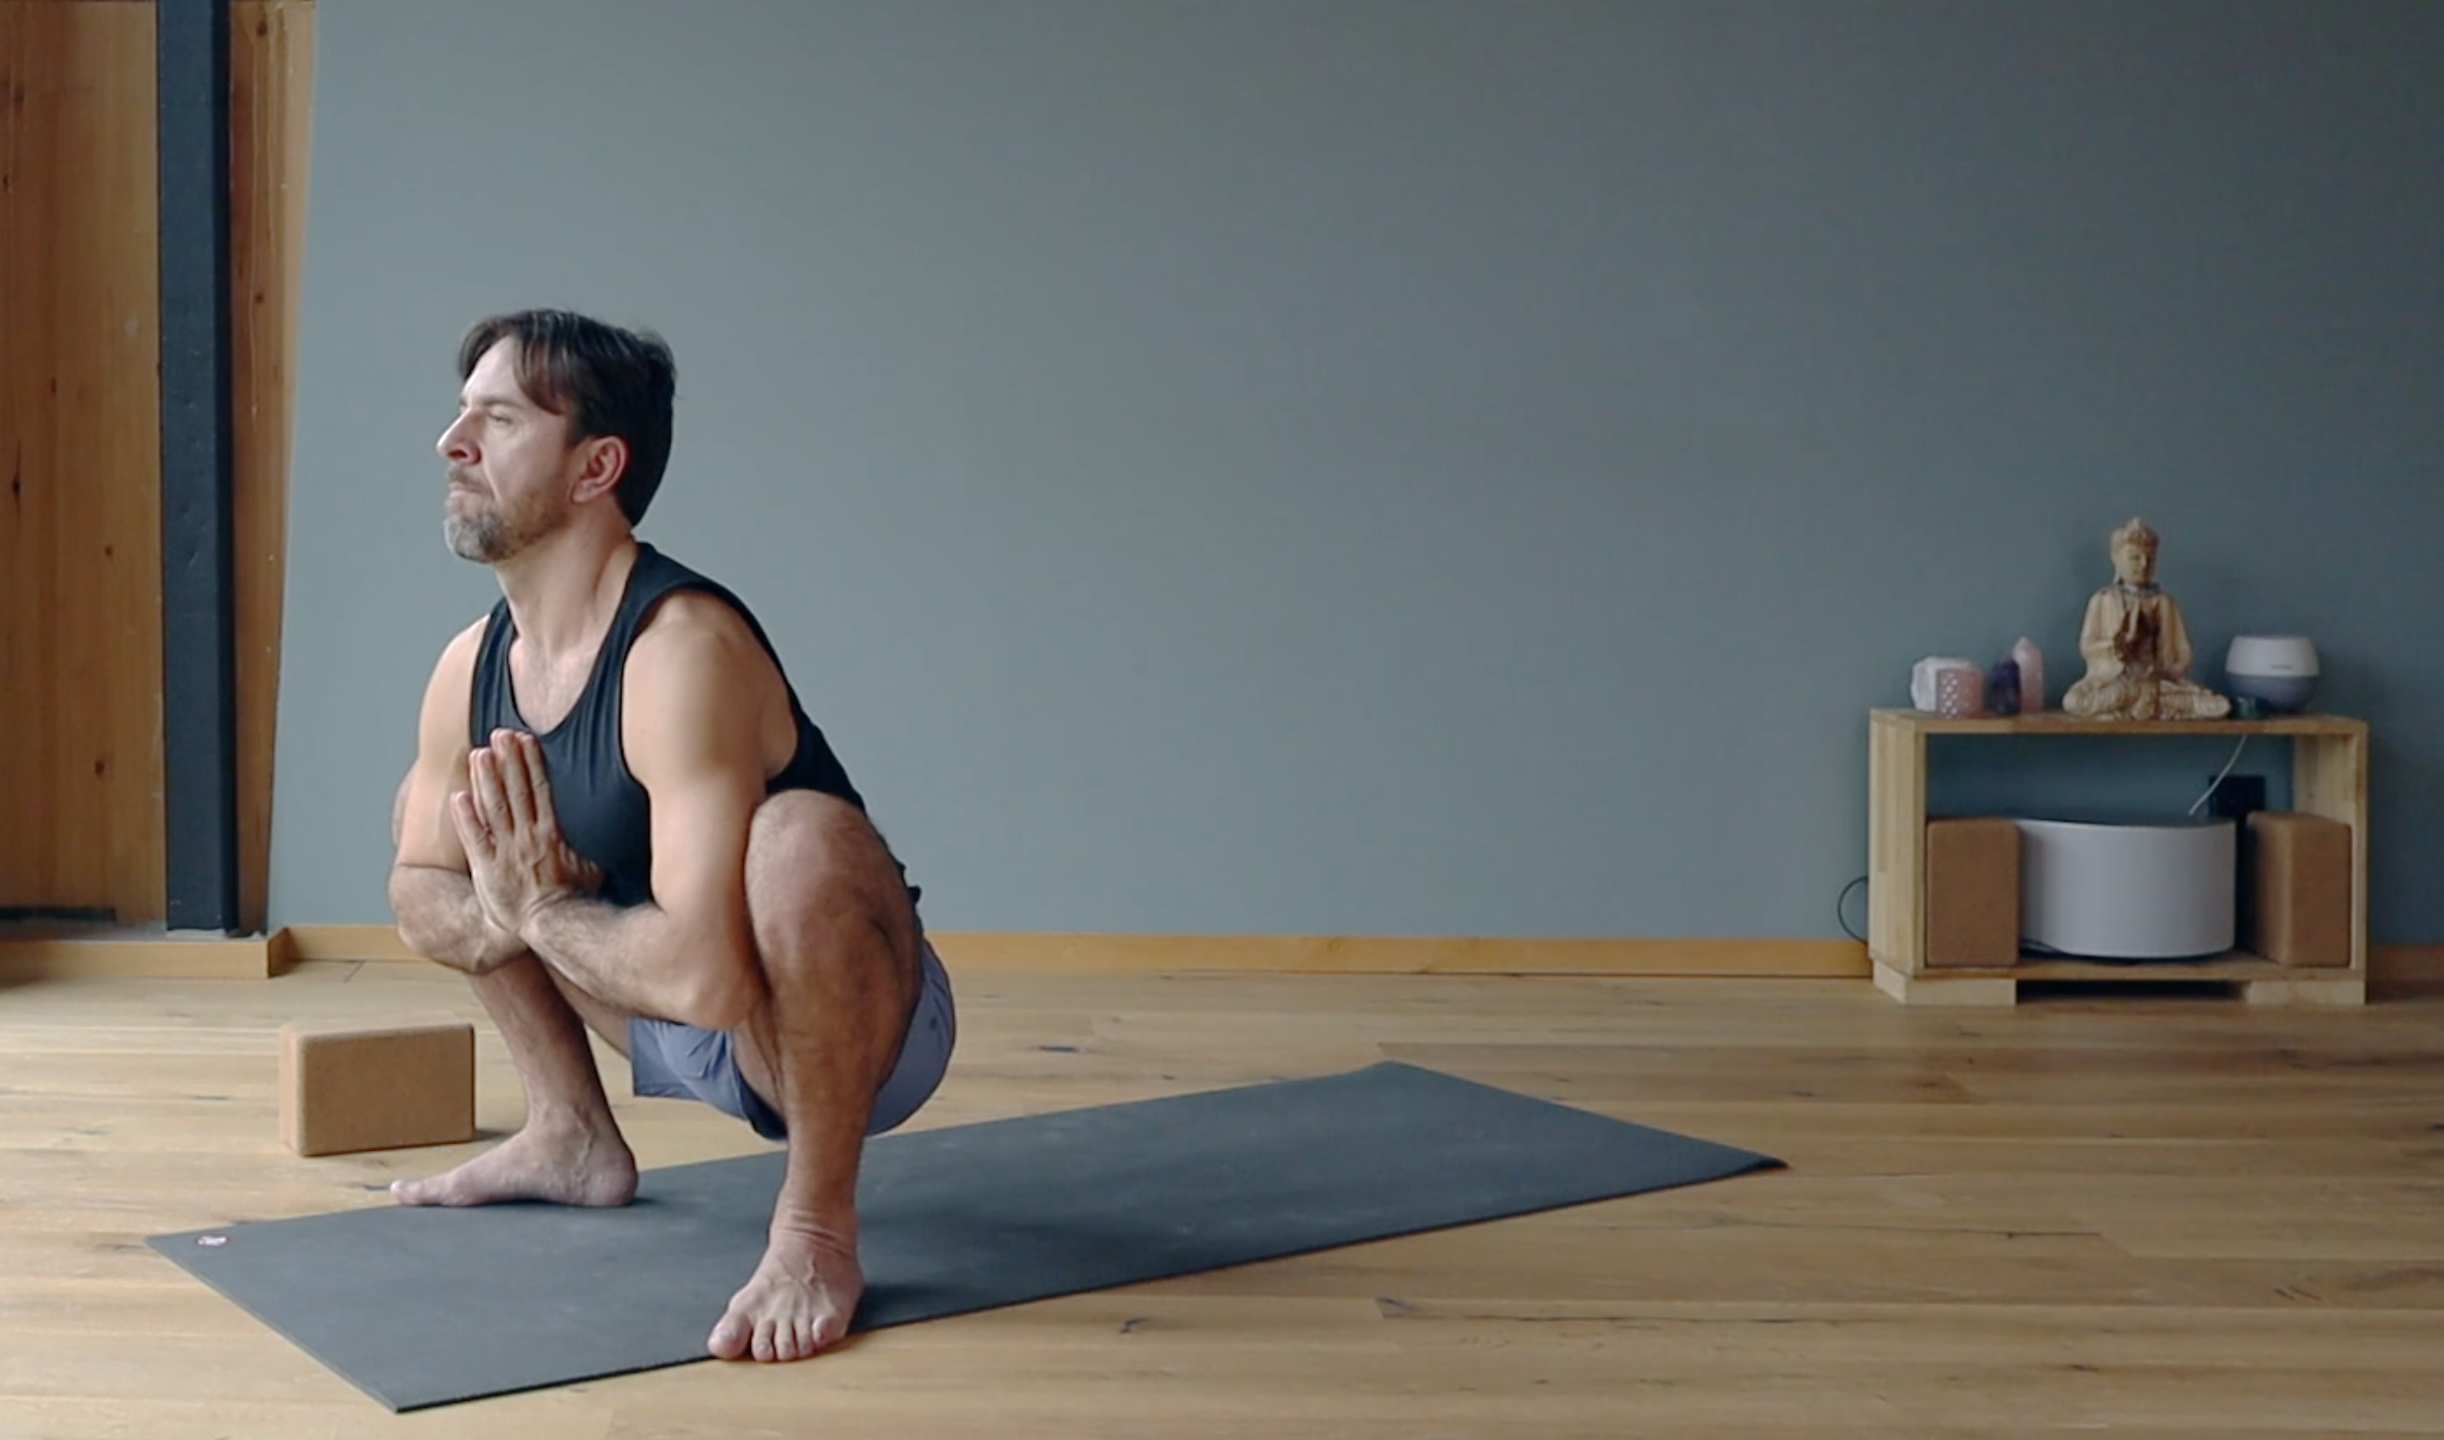
Malasana
Now come into a squat position and try your best to come in as deep as you can. Turn the feet out as shown above and try to stay here for a minute or two if you can. Malasana is excellent for allowing the sacrum to drop into it’s natural position and release any tension here.
For more help releasing the hips check out my blog post on Agnistambhasana.
To finish you can try and come into a version of Supta Vajrasana. This will help release the sacrum ‘the other way’ into a backbend allowing extension. Sometimes the sacum can be stuck in this direction and coming into this simple back bend will help release the tension.
Use bolsters as shown below if you are unable to lie down flat on your back on ther floor.
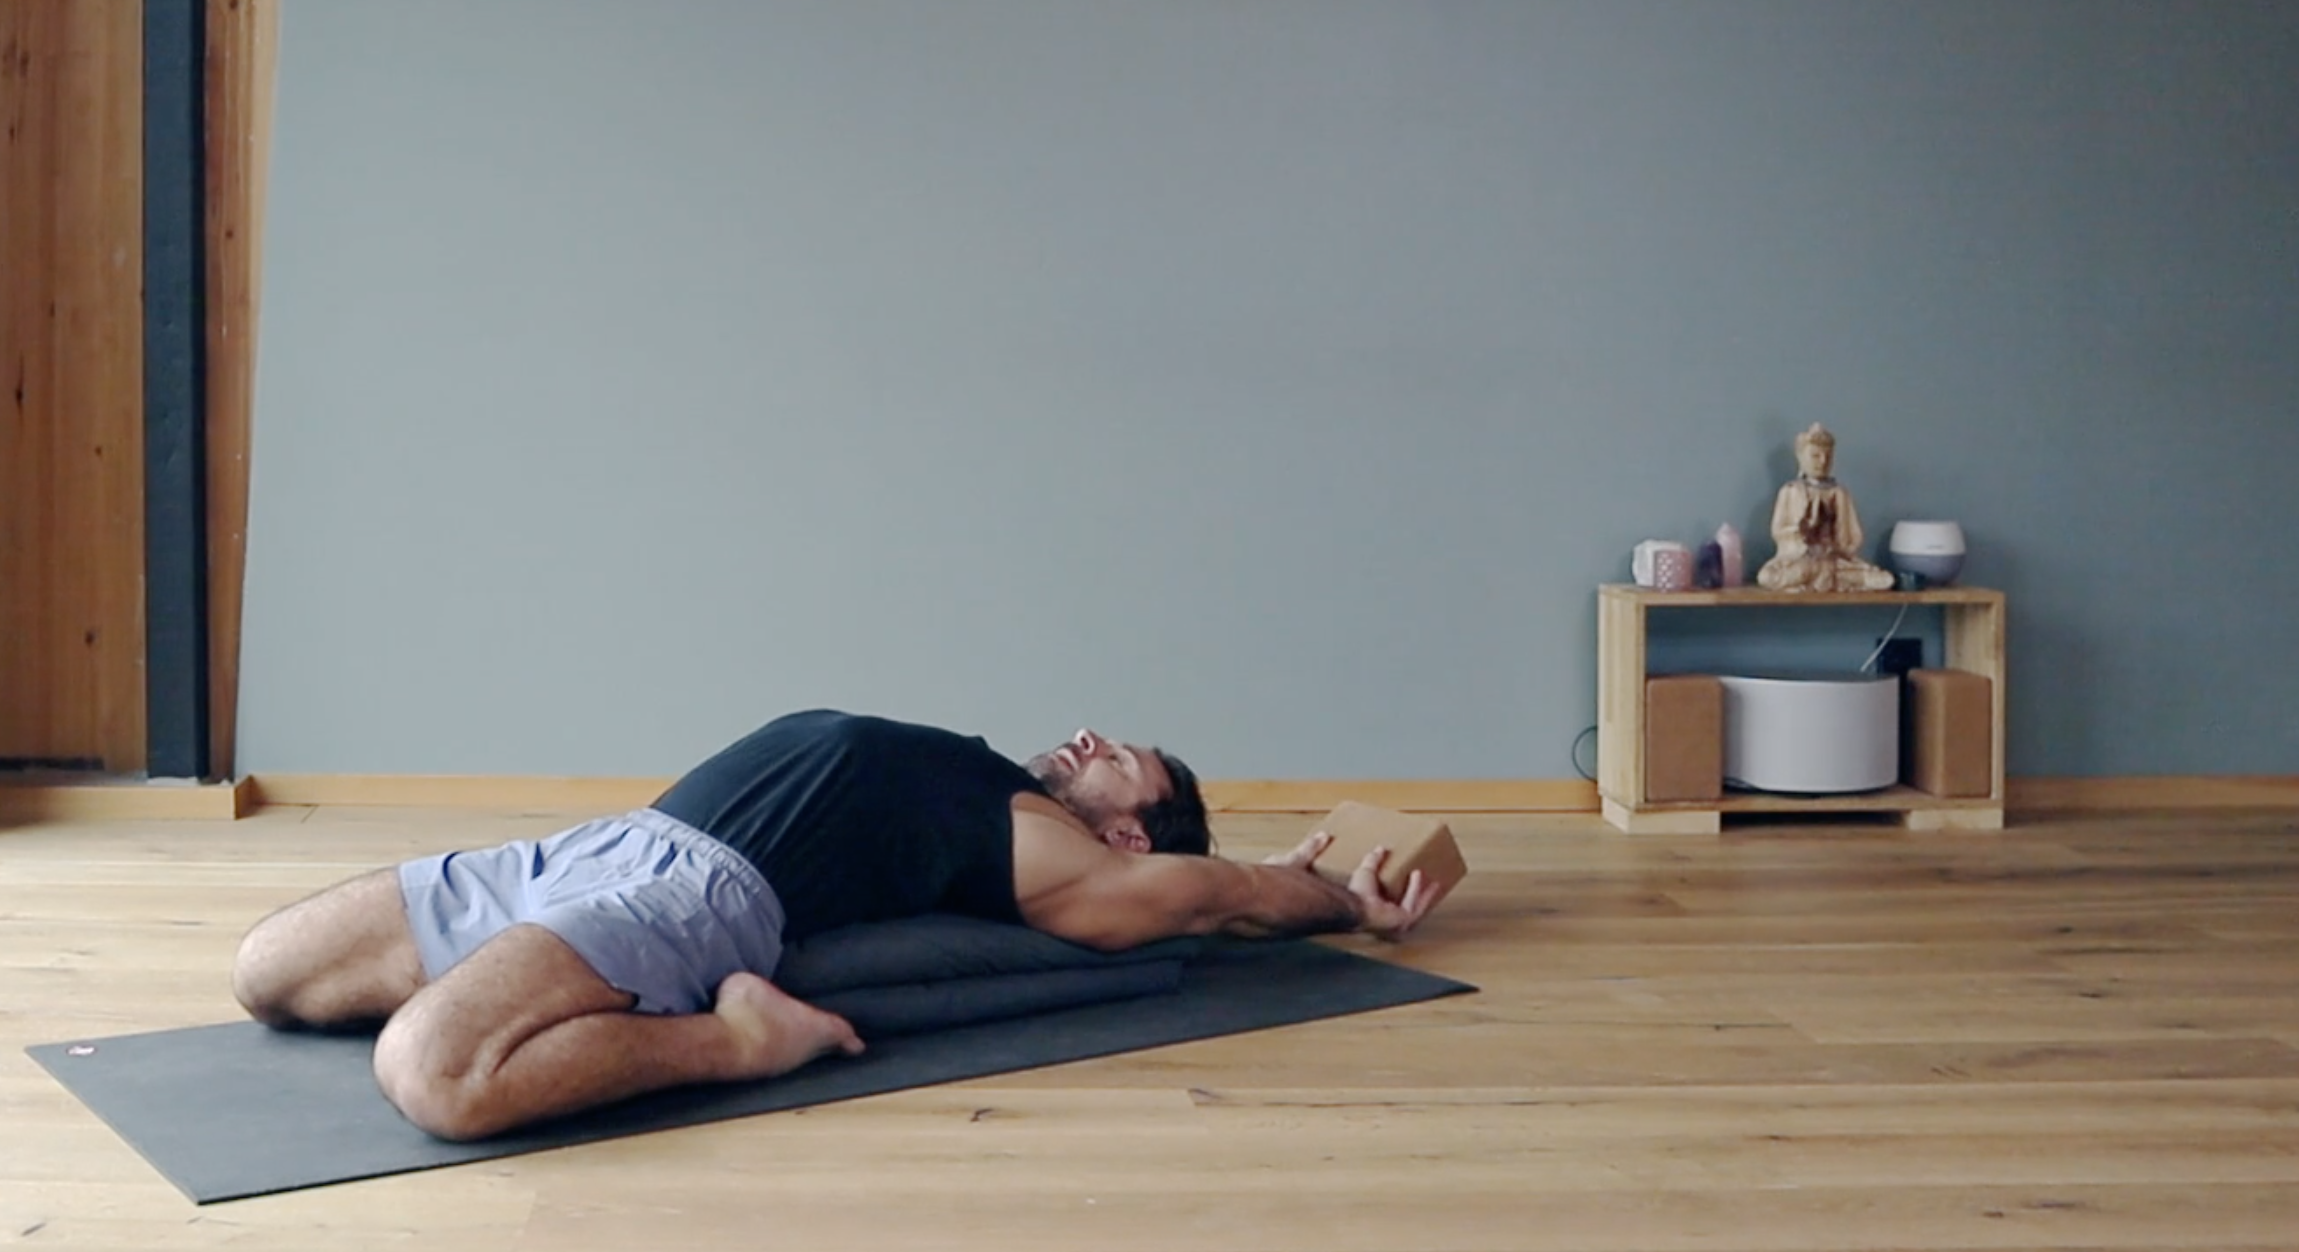
Supta Vajrasana
If you feel too much pressure in your low back try tucking your tailbone and squeezing your glutes some to extend the hip. Again ,10 to 15 deep breaths through the nose or maybe 2 to 3 minutes if it feels good.
This small sequence is part of a larger floor based sequence I created called The Supine Sequence. It’s designed specifically for people new to yoga or anyone who would like to learn an intelligent, gentle whole body yoga sequence to balance the body or recover from injuries such as low back pain.
You can find the full sequence here:
The Supine Sequence is part of The Online Studio which has a variety of rehab prehab exercises / Yoga Asana tutorials and fully guided classes on The Element Series Vinyasa Yoga.
To have full access to all of my online tuition, breakdowns, courses and classes head to my Online Studio to become a member.
My Online Studio