
How to Karandavasana
I would say Karandavasana is one of the harder asana’s to master in the Ashtanga Yoga system. It requires a lot of brute strength and good mobility in the hips and shoulders. In this post I’ll give some of my personal tips on how to apply yourself to build the necessary strength, especially to come up.

Karandavasana
A main prerequisite to even trying Karandavasansa is to have an excellent Pincha Mayurasana.
Pincha Mayurasana.
For more details on Pincha and opening the shoulders: Check out the following post:
By the time you reach Karandavasana in the Ashtanga system Padmasana should be very comfortable, the breath should be very stable and strong and hopefully you have built up the necessary strength to jump back and jump through. The jump back will build a lot of the necessary strength and coordination in your core and upper back.
Along with the jump back I would say an advantage is to be able to comfortably hold a stright line and tuck handstand. In my Mysore room I personally teach these both in Primary Series so students are very prepared for this early on in their practices. Especially the tuck handstand as it teaches you how to balance with an arched back which helps for Karandavasana.
Jumping or pressing into a tuck handstand from Utkatasana for example is an excellent place to practice this.

Tuck handstand
As I wrote earlier, your Pincha needs to be almost effortless as so many other things will be going on. The connection to the ground needs to be solid and lifted the whole time. What i’ve often seen with students who struggle with this is that their shoulders aren’t open enough and they collapse with the weight as they come into lotus. if this is the case for you, I would recommend staying with Pincha for some time until this is solid.
So once we are up into Pincha we can start to play with coming into Padmasana. Sliding the right leg down the left allows up to keep balance.
Sliding the right leg into Padmasana
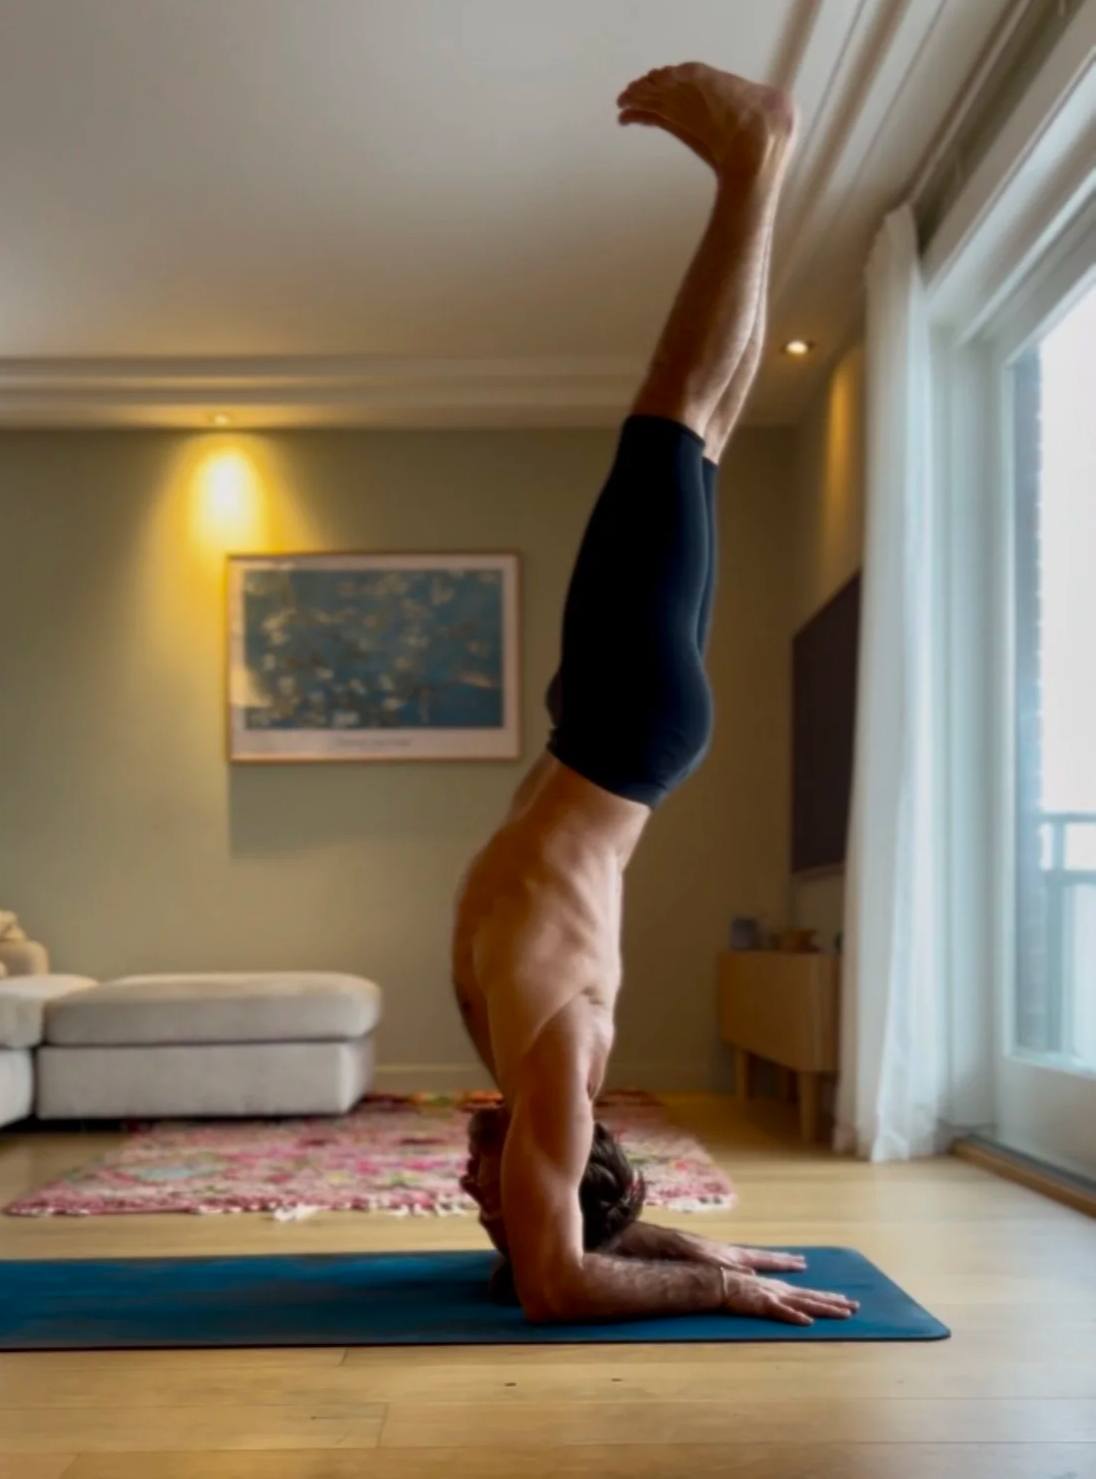
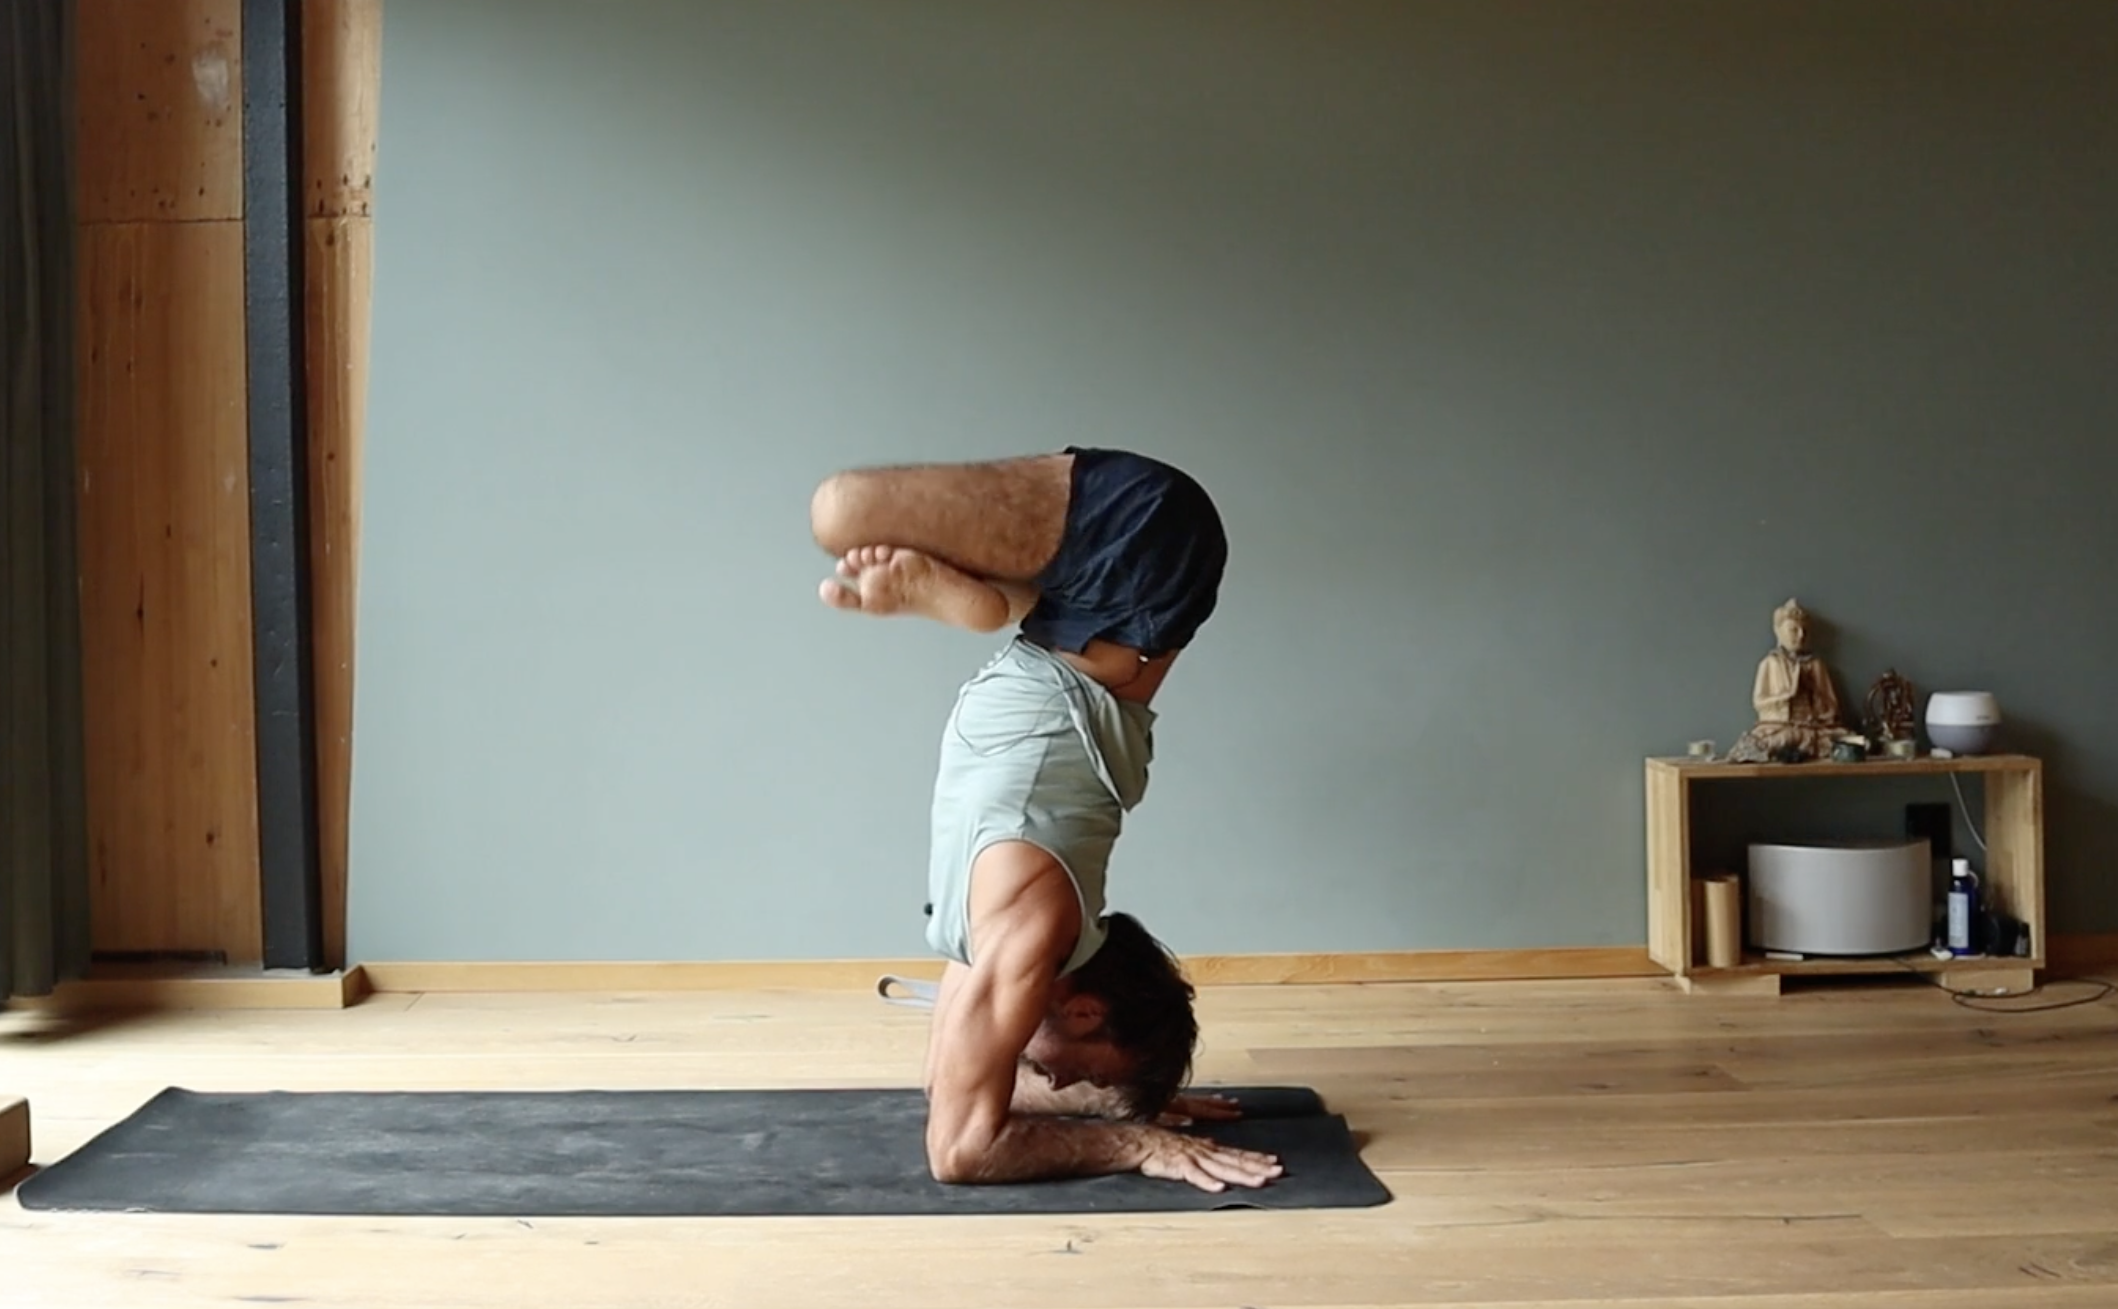
Bringing the left leg into Padmasana we hold balance with our hips extended. As you can see here below my shoulders stay lifted the whole time and I am in an arch in my low back. As I would be in a variation of a tuck handstand.
Hips open in the initial part of the entry.
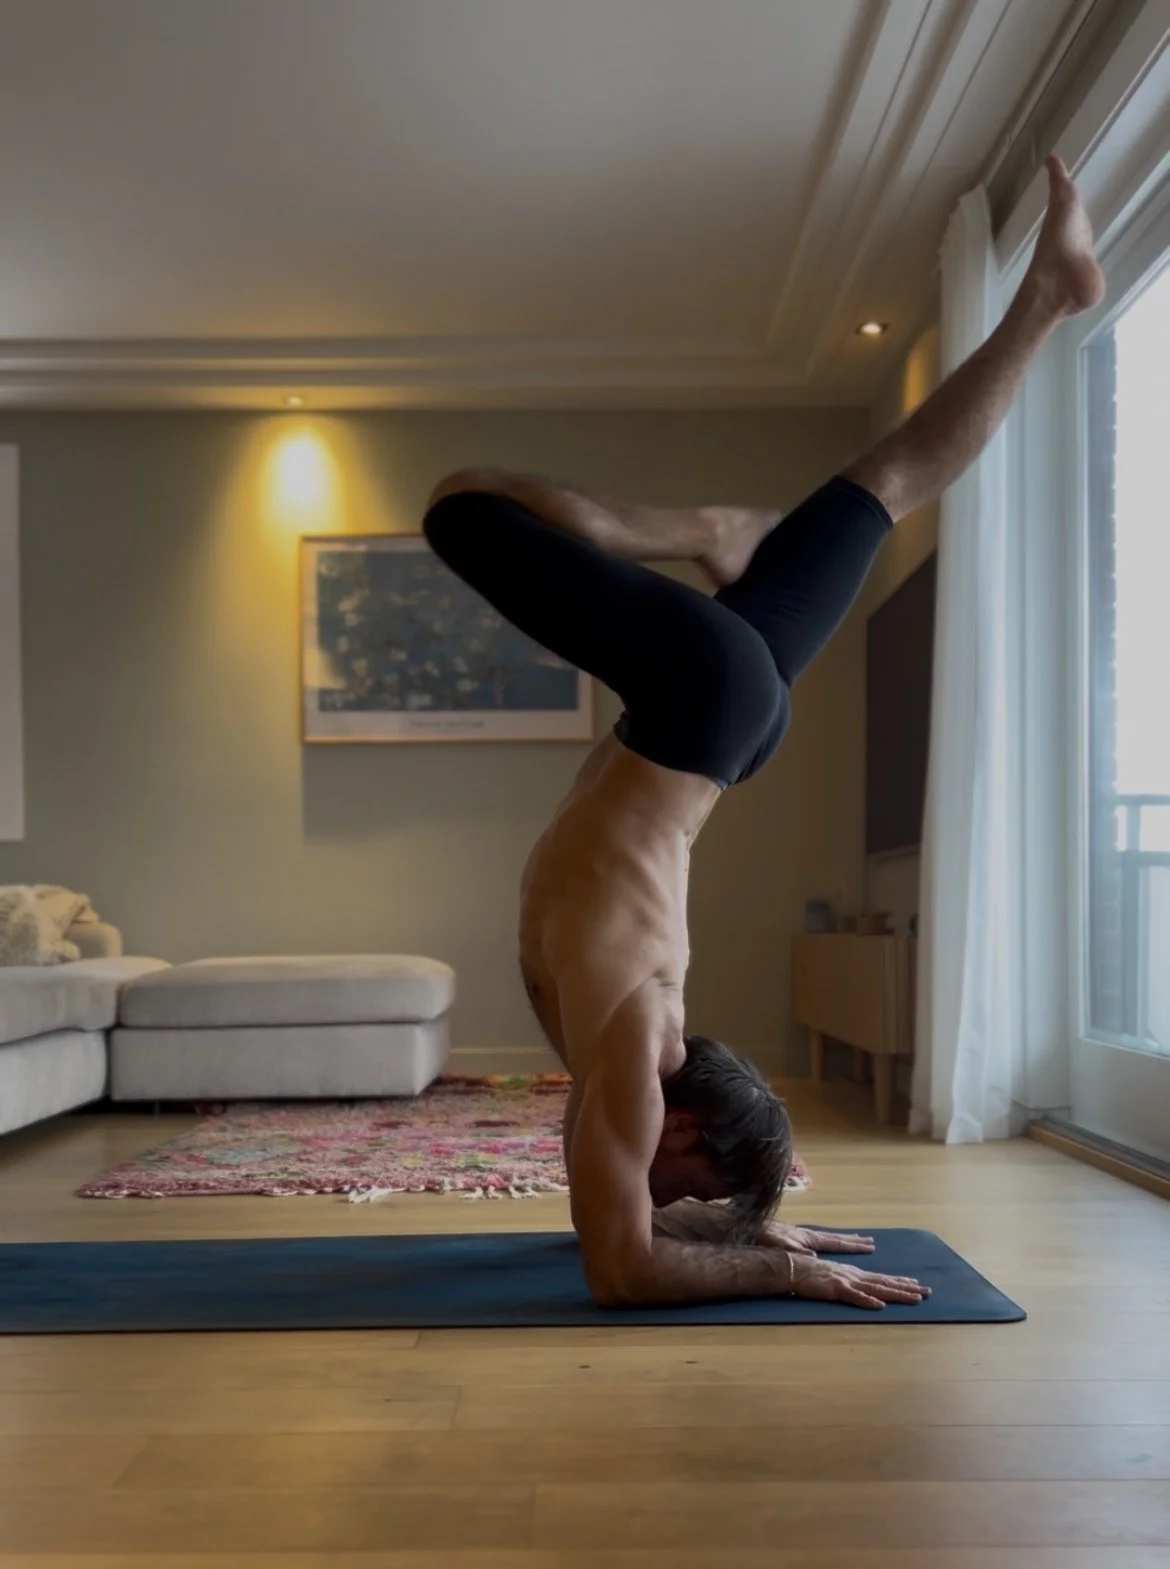
Now as I begin to lower down I will change the shape of my upper body and back. There is more weight being pushed down into the floor as my body becomes less in a straight line. The body is lighter when the bones are stacked ont top of eachother in a straight handstand for example. My shoulders have to work more strongly here and especially my upper back and serratus which is what we largely develop in the jump back.
Holding mid way in karandavasana.
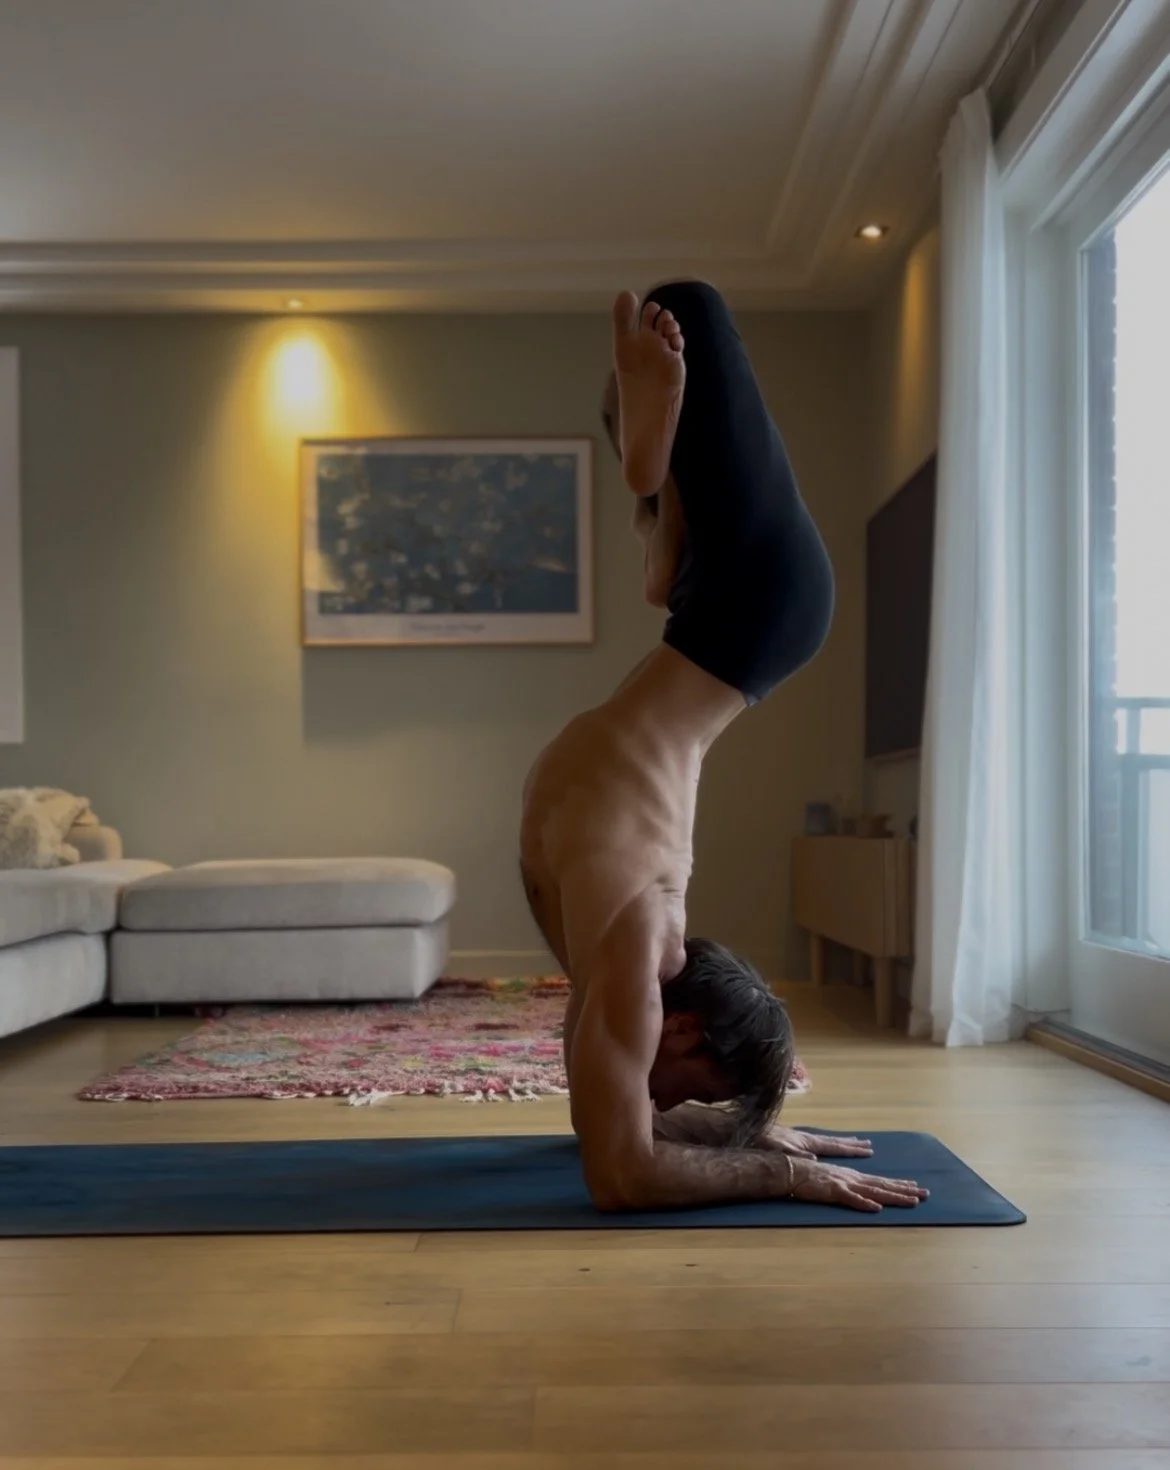
Now as I start to lower down I will initially begin to think about bringing my thighs in toward my rib cage. I want these two areas to meet and compress strongly. At the same time my shoulders come forward. You can see in the image below how much work is going on in my lats and serratus.
Halfway down.
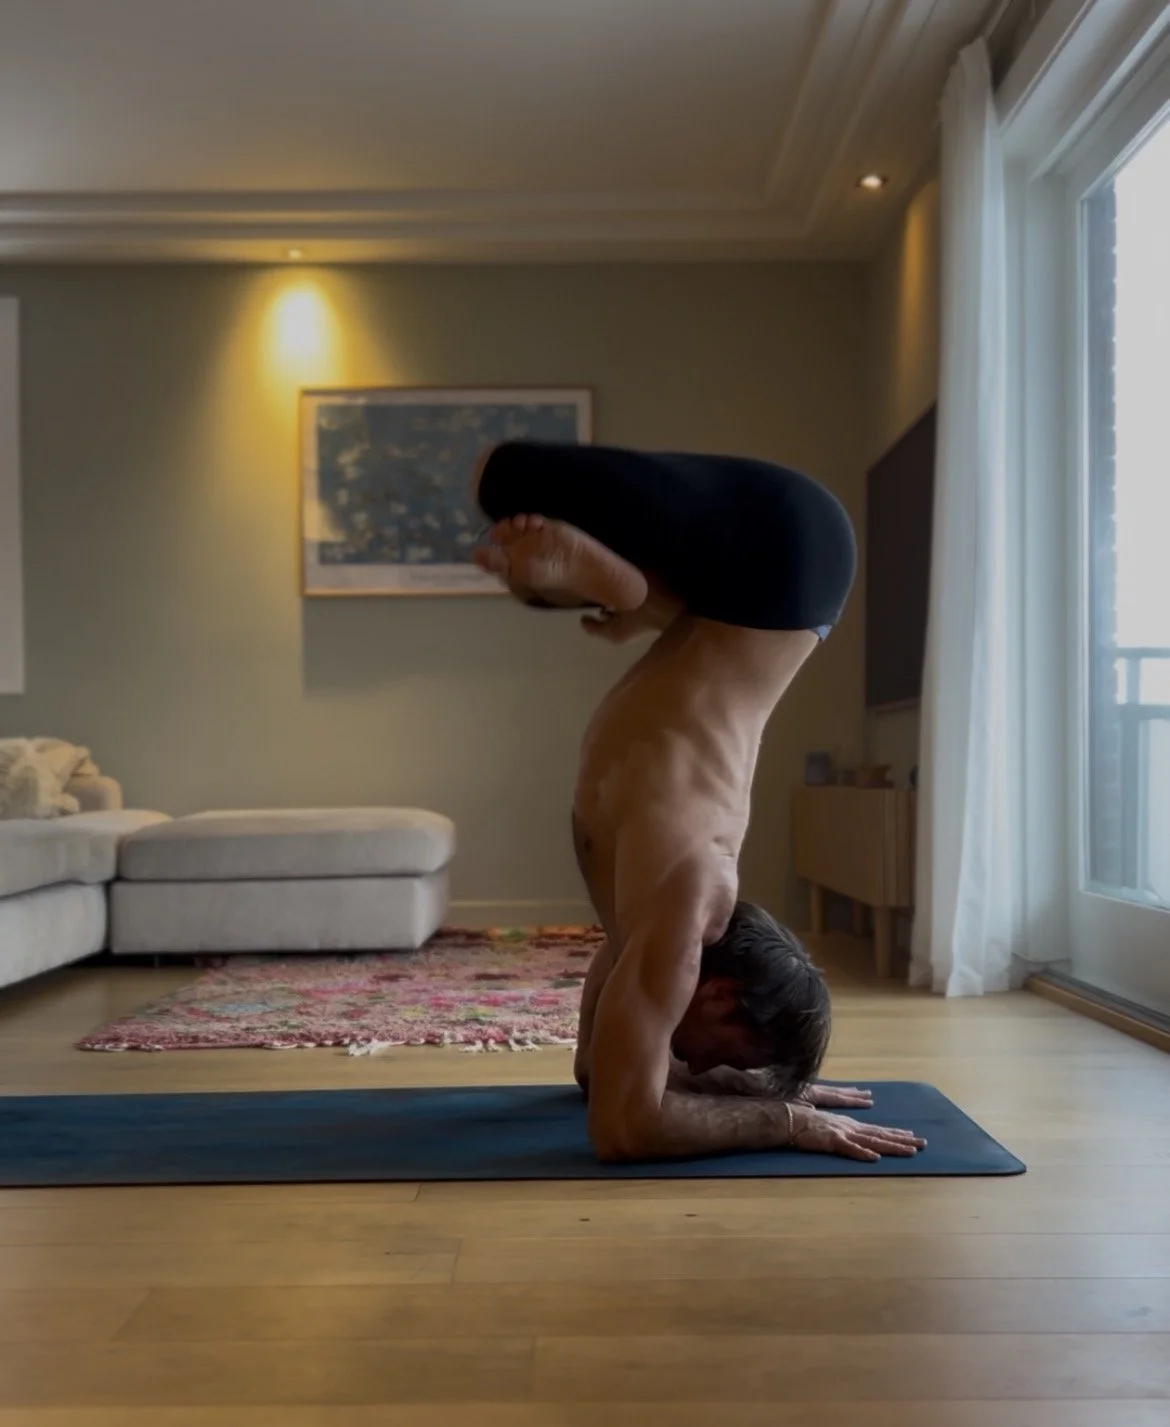
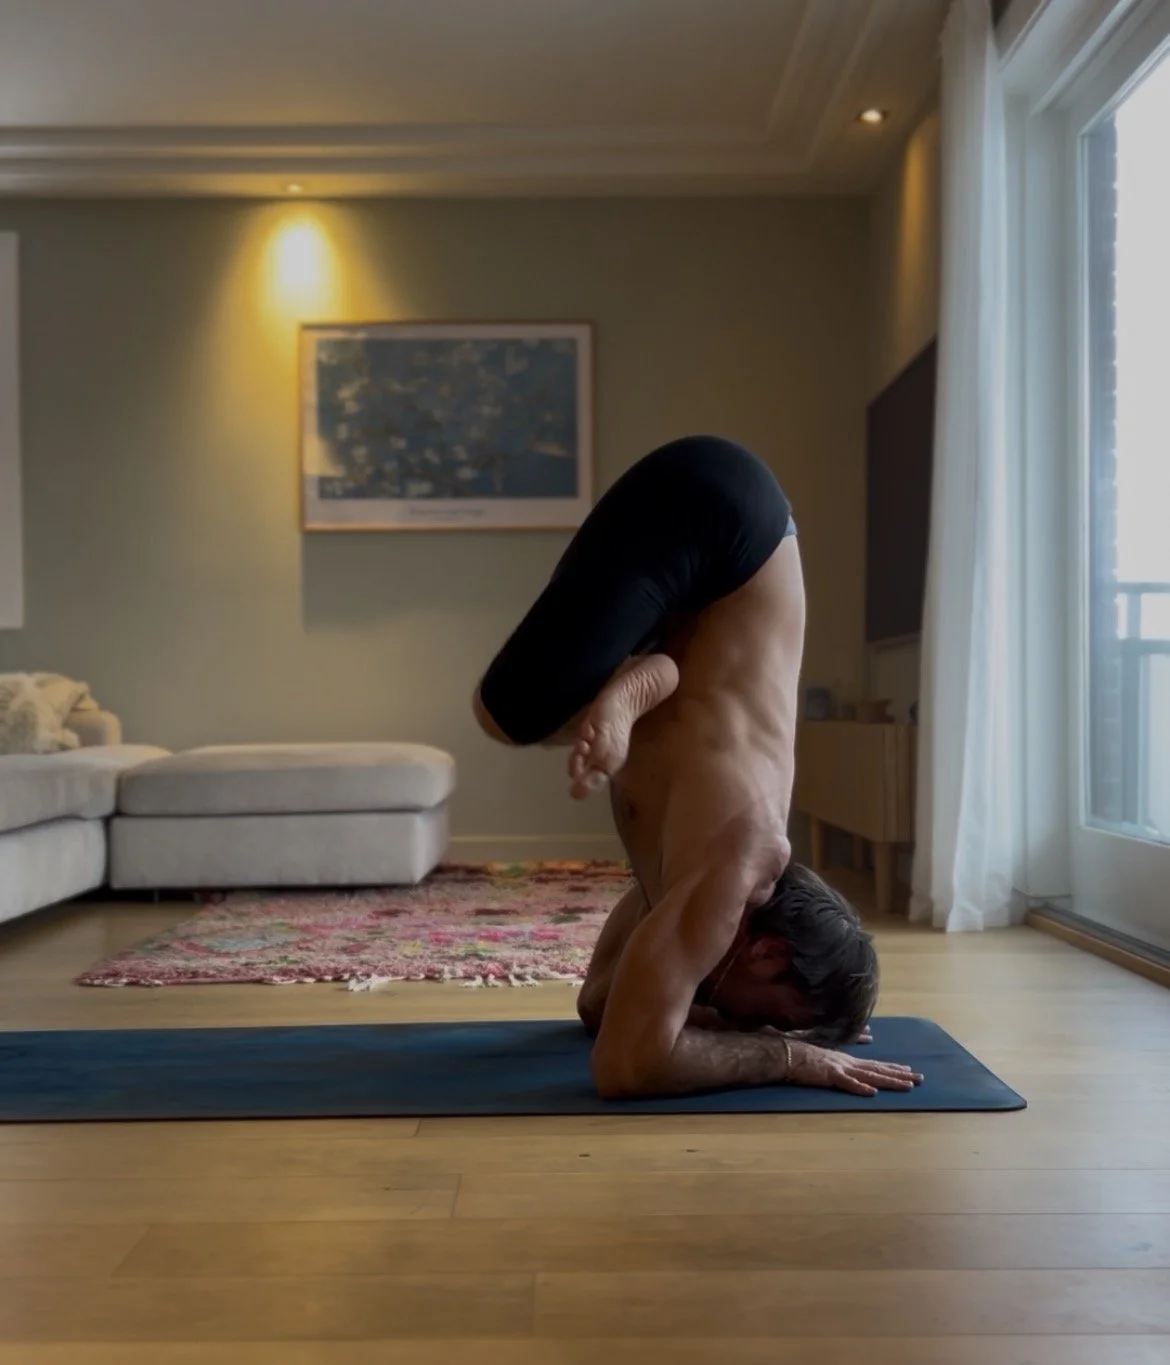
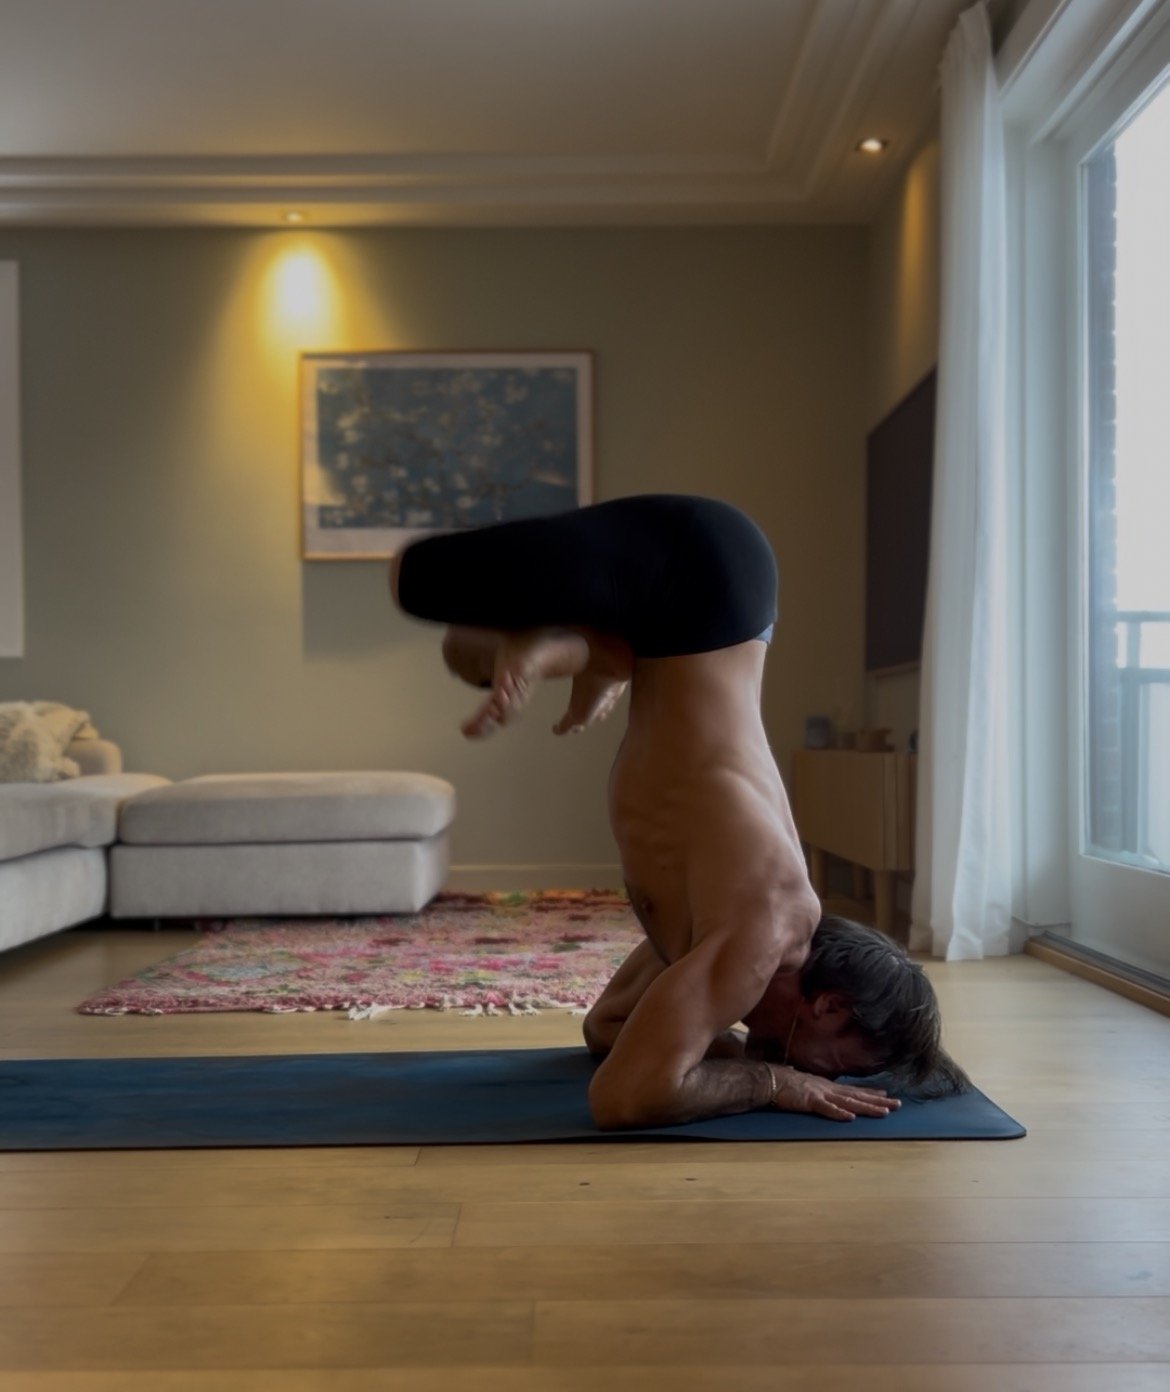
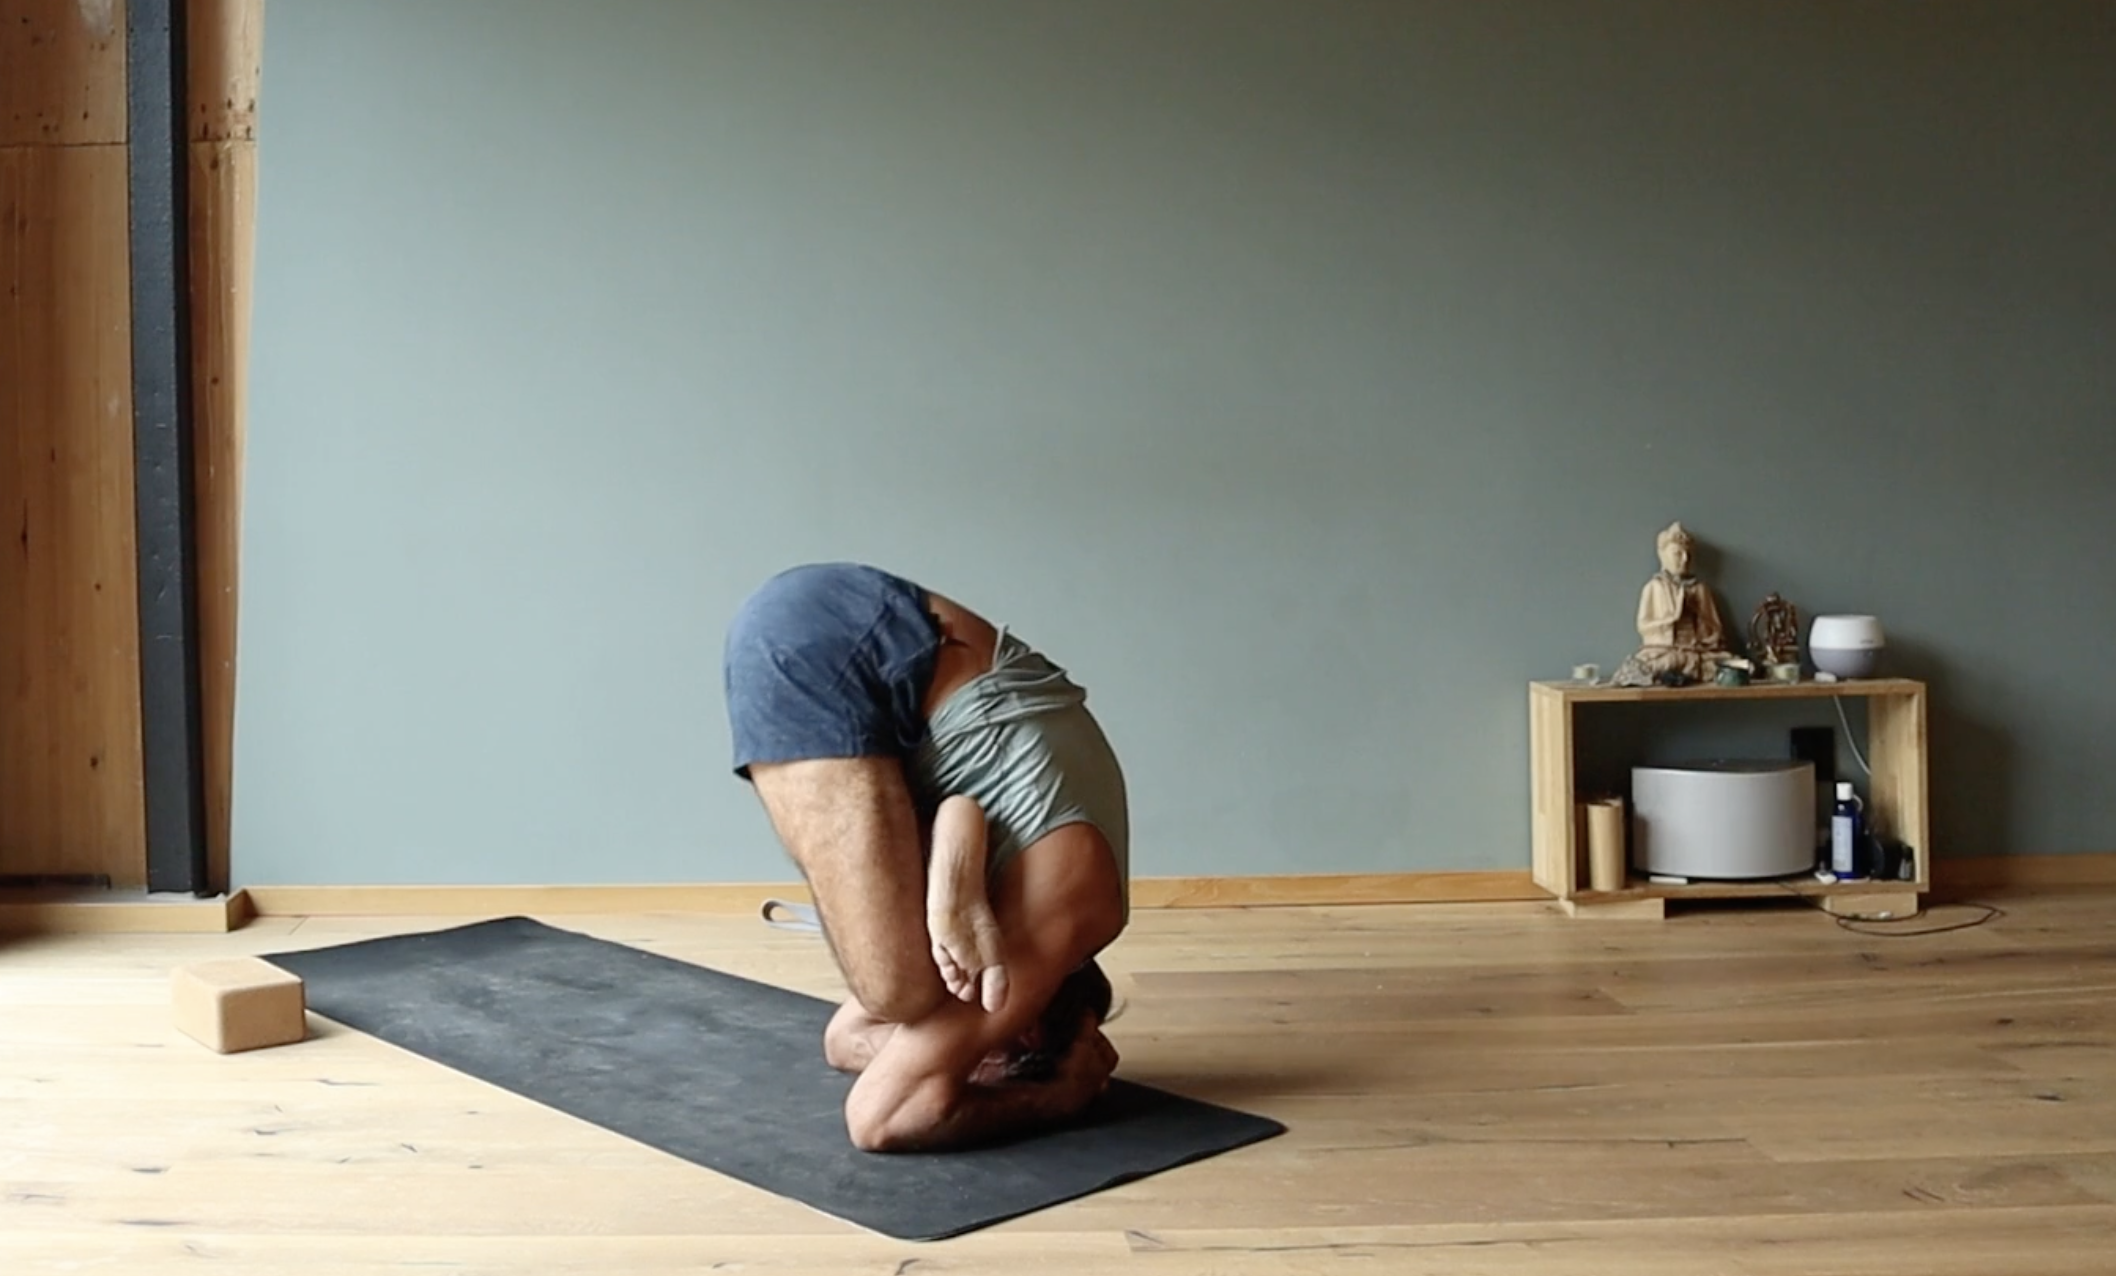
As I continue down squeezing my body together, my shape keeps changing, but now with a rounded upper back. Think of Bakasana ( this is why Bakasana is learned before Karandavasana ) as I lower down onto the backs on my triceps.
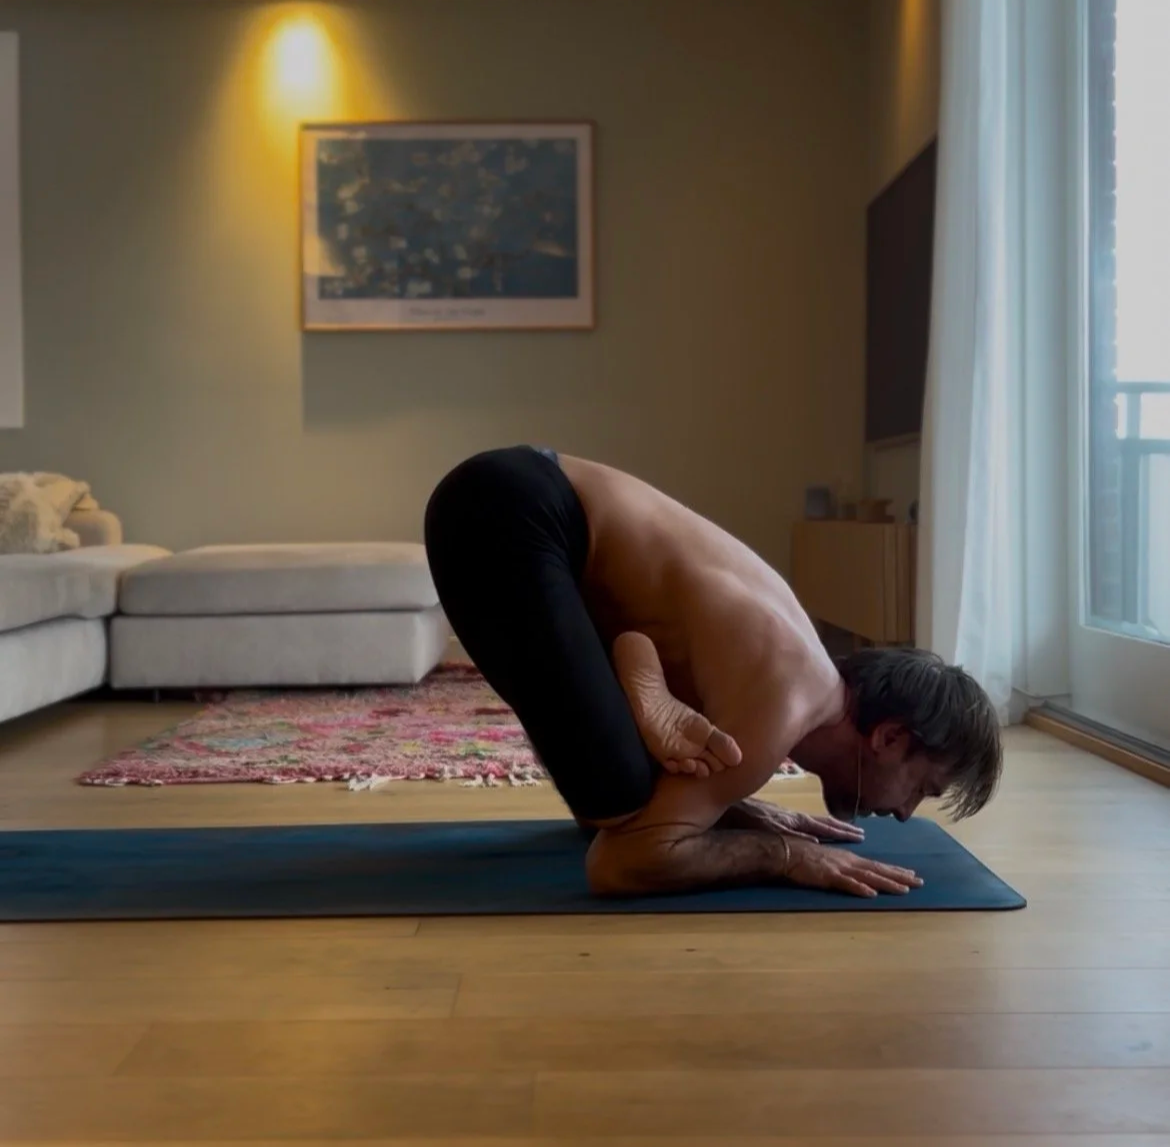
Holding in the lower position of Karandavasana.
Ideally we hold here for 5 breaths. The main things I am thinking about here is keeping that tight compression I came down with so my knees stay where they are, and not letting my elbows go out to the side. I am squeezing my armpits in towards eachother here and very slightly lifting the knuckles of my hands to balance. The same way you would do when you lower down into Bhujapidasana.
Bhujapidasana
Coming up is a whole other thing altogether
I would say the hardest part of Karandavasna is the inital lift off from the lower position.
Firstly you have to push into the floor through your elbows which sends that energy up into your upper back to get that initial movement. This requires a huge amount of effort and strength. Don’t be put of if this feels impossible and don’t give up. It’s hard as there is nowhere to cheat here. Some strength movements you can fudge a little but there is no wiggle room here as the shoulders are in such a fixed position. But… You will learn a lot in the process about pressing. Again, don’t give up.
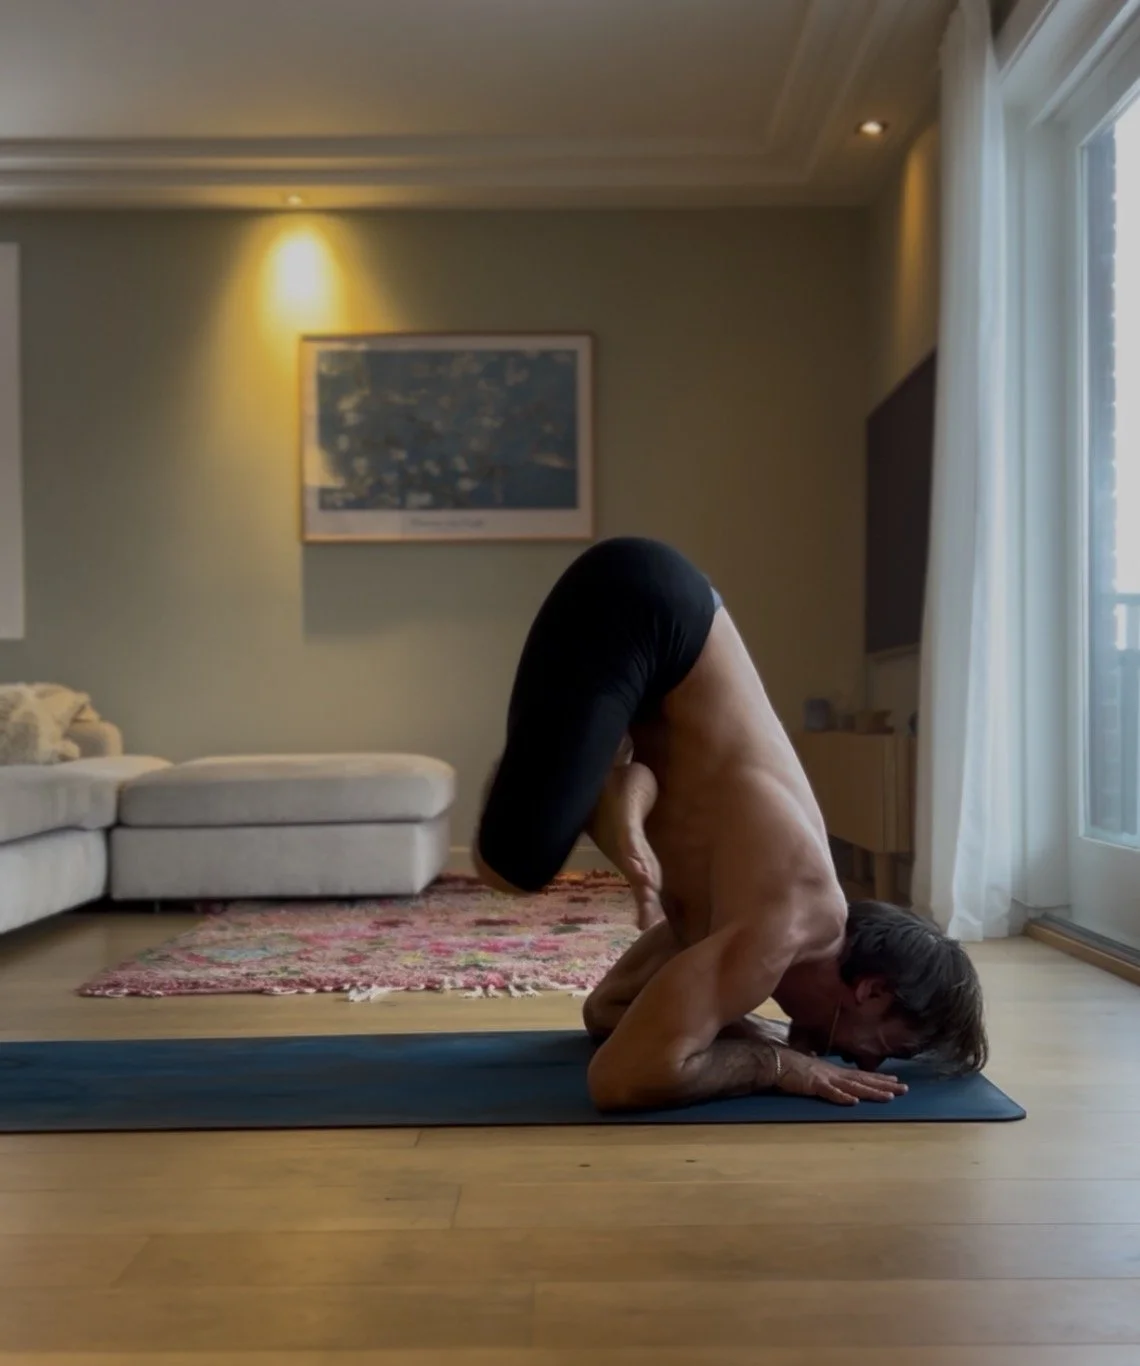
When you finally start to feel that initial lift of you have to start uncurling.
It’s easy to give up here and drop back down, but don’t. Hold that initial lift off you created and use your back extensors to start the process of lifting your hips back up over your shoulders. The quicker you can bring your hips up back over your shoulders the less work you’ll need to do. This is the crux of the position.
Again, the work you have done in your jump back and jump through will show here.
Lift off
Now you can see the effort here in this shot that I need to push.
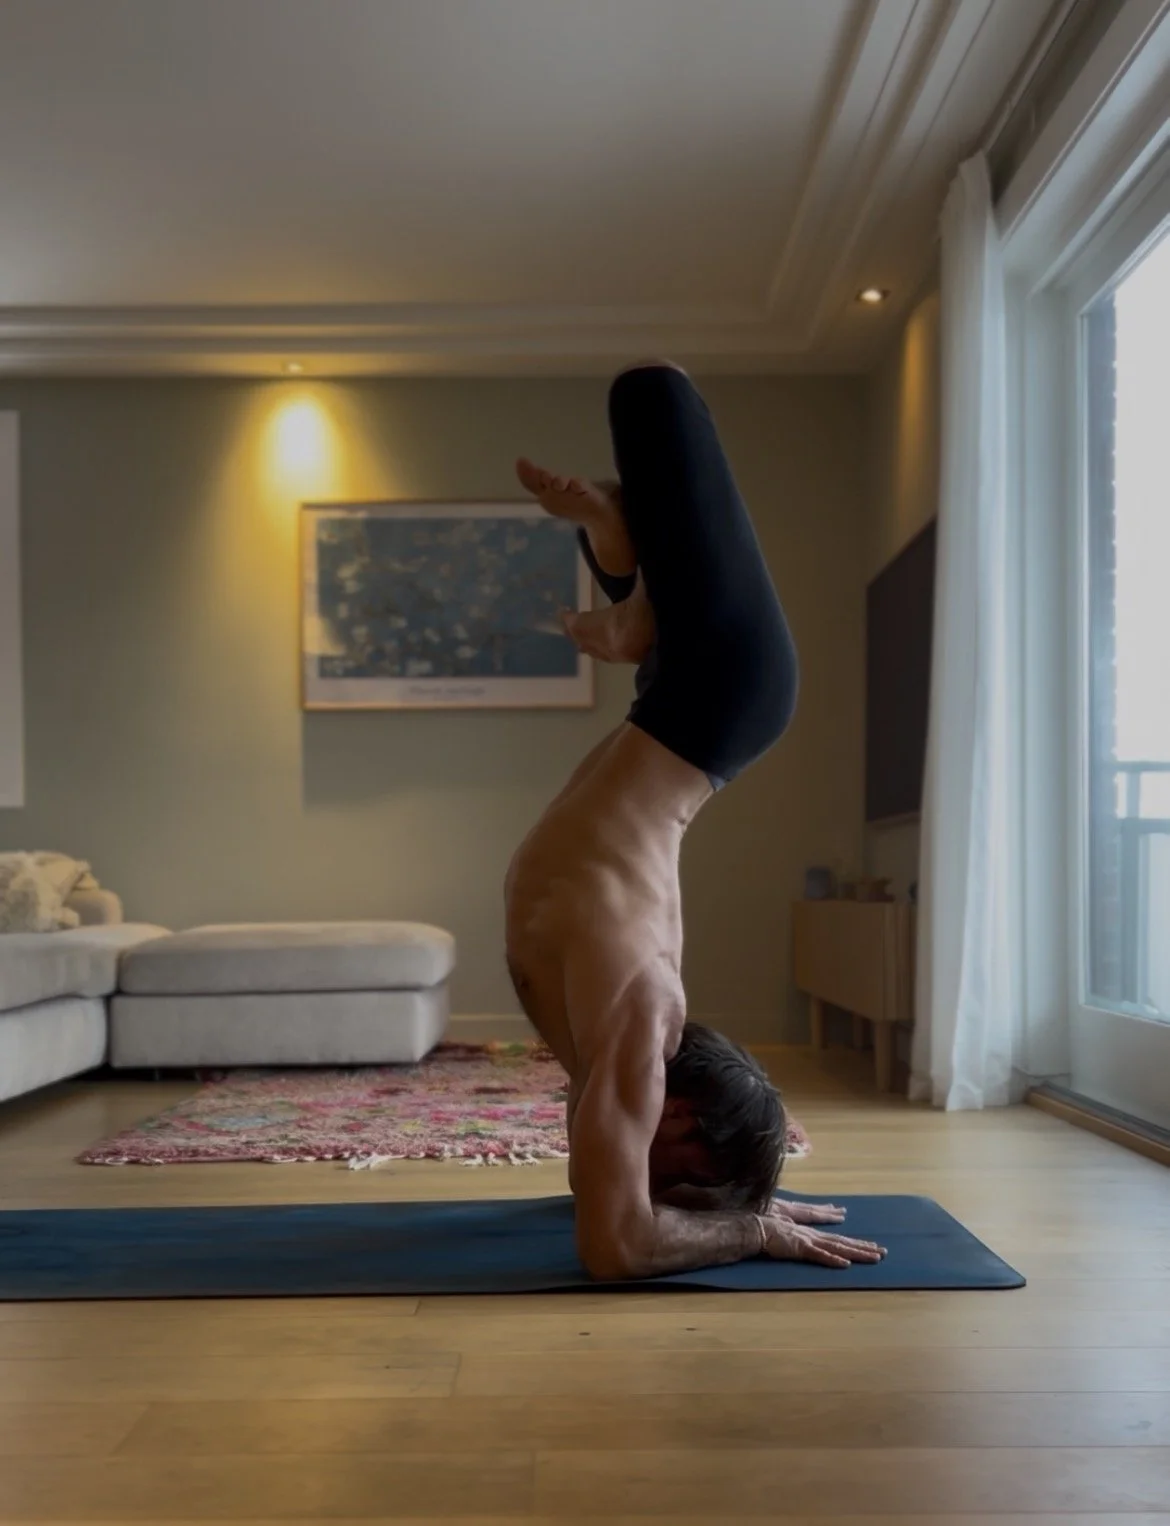
As you keep pushing and uncurling, the hips will come higher. From this position we start to press more through the lats and shoulders so we come back into our Pincha position. Moving from the rounded back more into an arched back. The elbows will want to come out here so keep squeezing them in and towards each other. The work you have done in Kapotasana to open the shoulders prepares you for this.
Halfway up, don’t give up.
The hardest section we are now through and we are back up into an open shoulder Pincha with our hips open and extended. This is a good time to walk the hands back out to stabilise as they tend to come in close together through all the effort.
Phew…
Now we can fully stabilise in Pincha and prepare for our exit. As you can see from the image below how my mat has pinched from the effort.
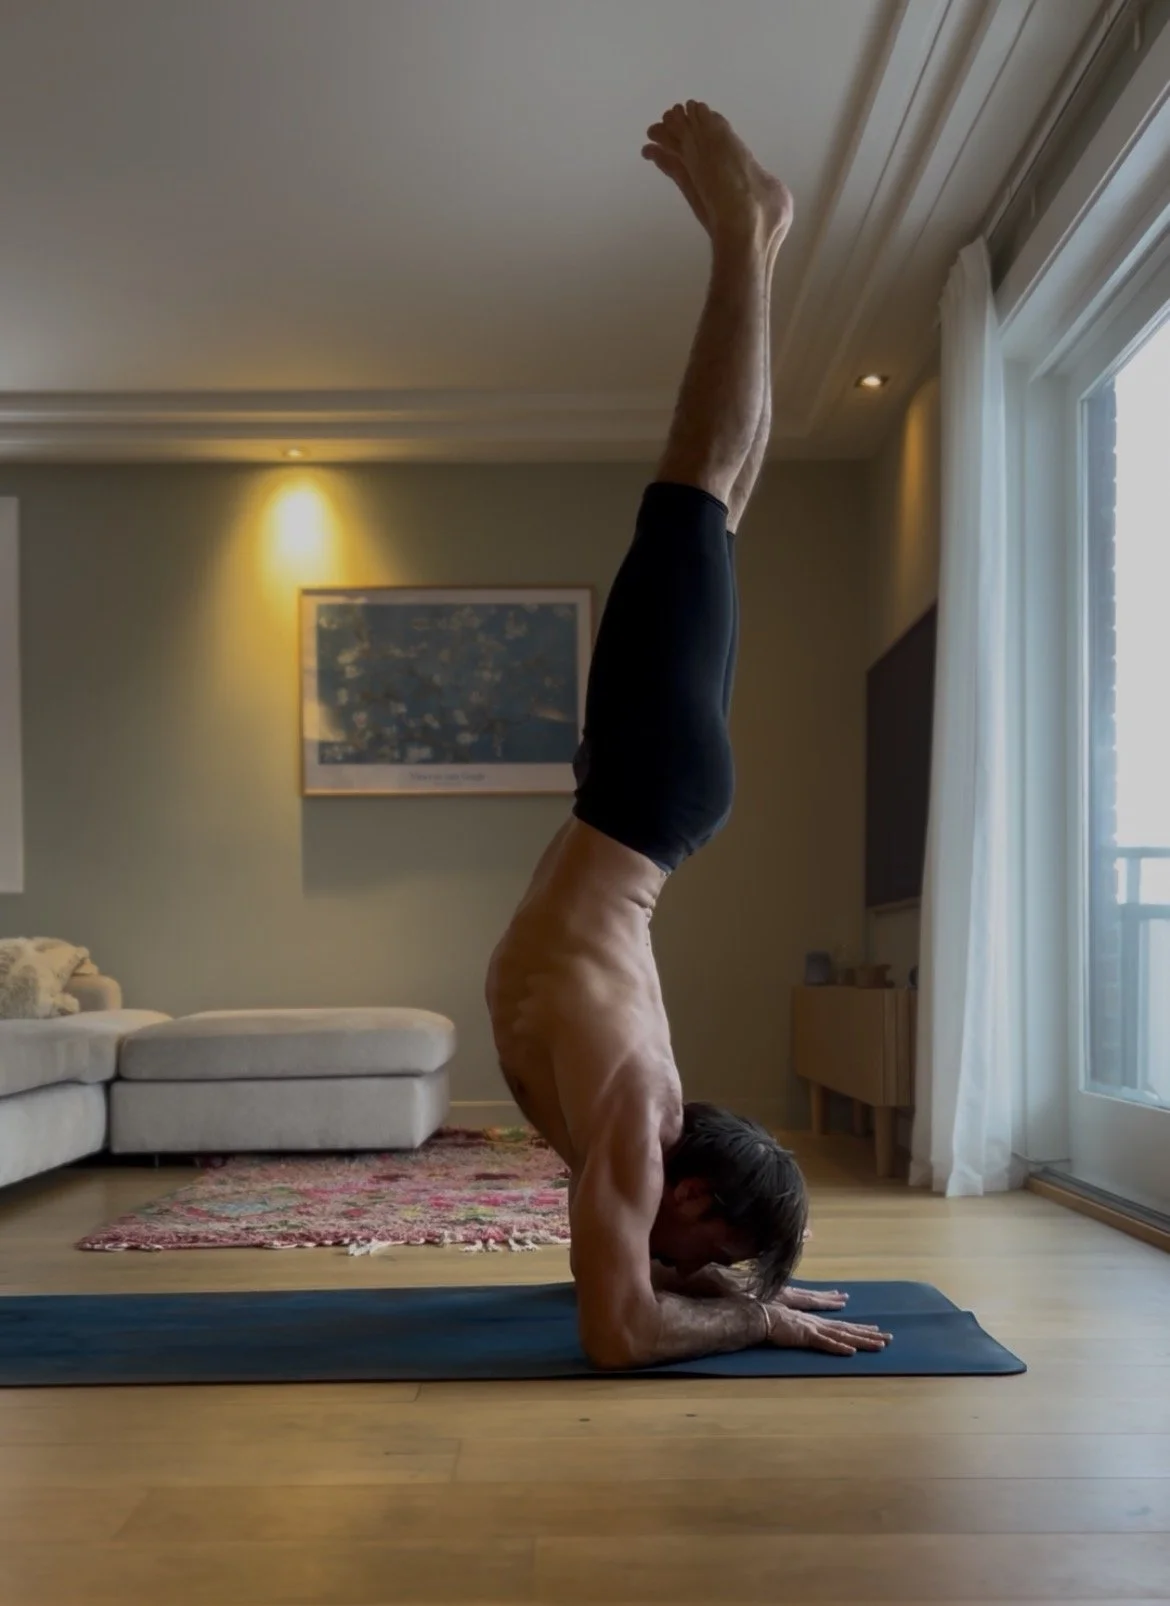
Calming the breath before the exit.
Now one other thing to say here is how to use the breath. In yoga in general we want a calm and steady breath that isn’t strained. This isn’t the case when we are learning very difficult strength movements such as Karandavasana.
Over time the breath will become smoother, but to get that initial lift off we need to exert a lot of force. To do this we use a variation of the the valsalva maneuver. The valsalva maneuver is a breathing technique performed by attempting to exhale forcibly against a closed airway (pinched nose, closed mouth) while moderately straining. I would say this is necessary when learning to come up from Karandavasana in the early stages that becomes less relevant over time.
More on this in my podcast episode here on How To Build Strength In Yoga.
A good example of using the Valsalva Maneuver is if one was to lift a large object off of the floor. Naturally we use a forceful breathing technique performed by exhaling against a closed airway (closing your mouth and pinching your nose). It creates a sharp increase in pressure within your chest and abdomen, altering blood flow and the nervous system's response.
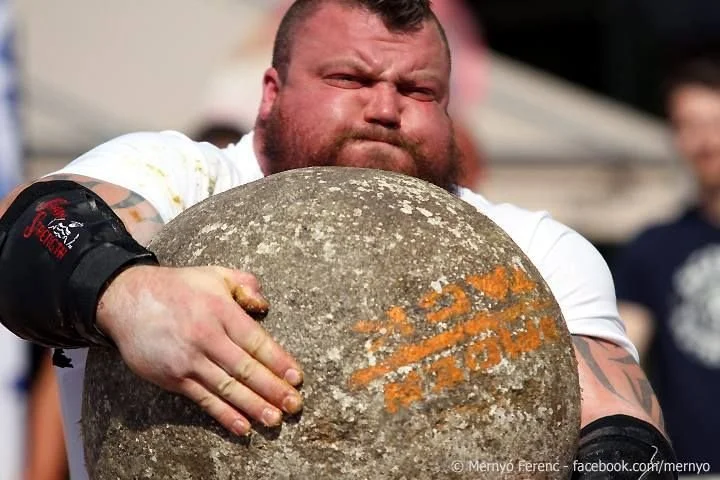
Eddie Hall lifting an atlas stone using this technique
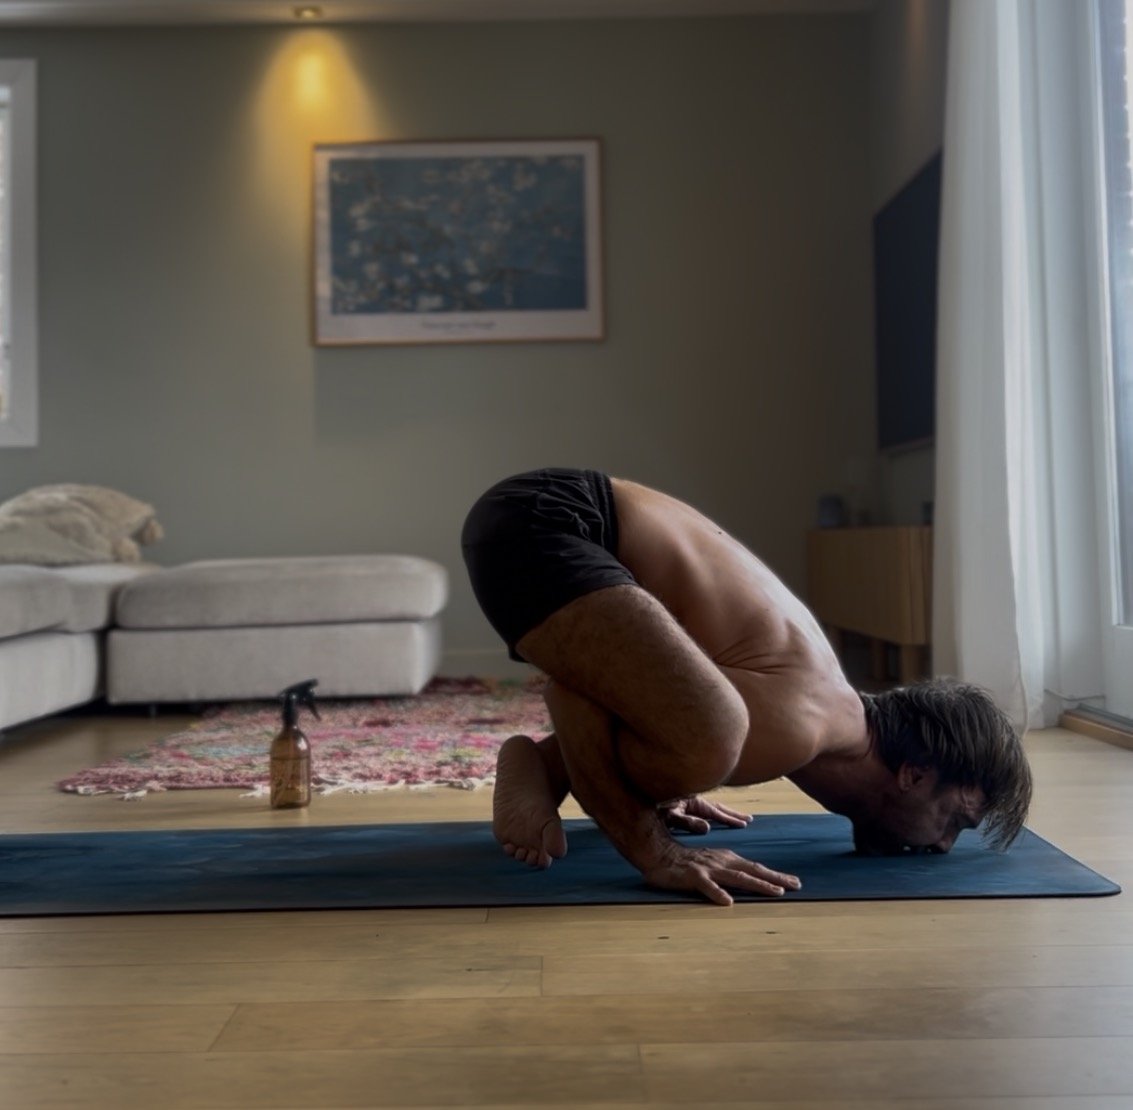
If you find that you are struggling with coming up, then try the following drill from Sirsasana which incorporates similar techniques that will help you get a feel for the movements required for Karandavasana.
Try to come down as low as you can before you go up.
Sirsasana drills for Karandavasana
For a full tutorial on how to practice Karandavasana and how to use your breath to come up head to the link below as part of my Online Studio.
Karandavasana Tutorial