
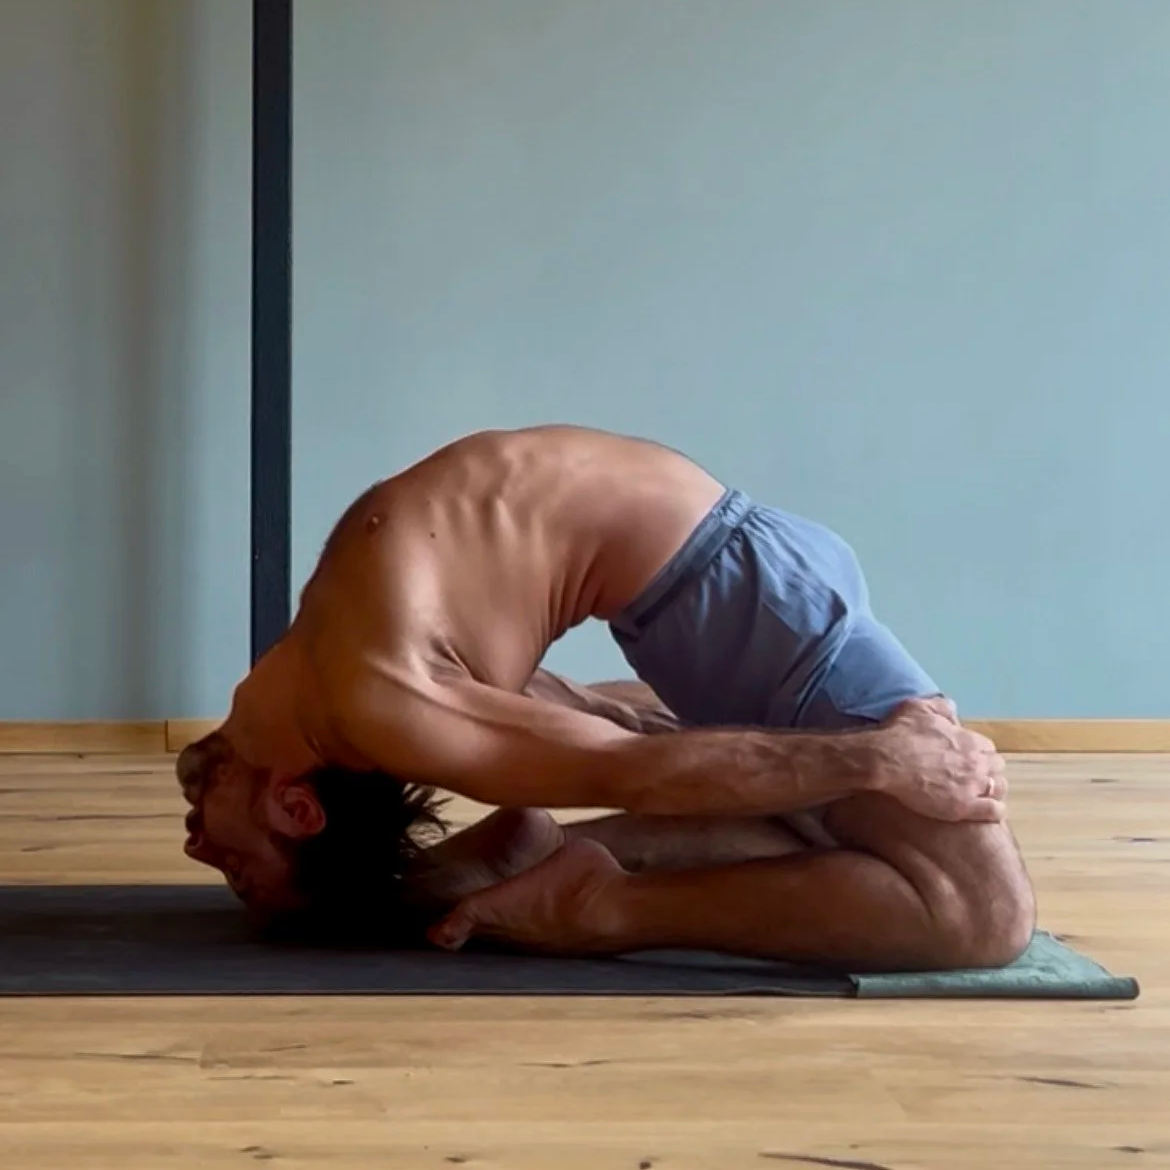
How to Kapotasana
I would say that Kapotasana for most people is a difficult posture to learn and can take potentially years for the body to adapt to this complex movement.
I know in my own case it took many years as I had tight / short hip flexors, stiff / tight shoulders and a history of back injuries. I was not in the best starting position and not a natual back bender whatsoever, but with enough patience and consistent practice my body changed.
So how do we go about approaching this posture so that it feels safe to do so and that we feel we are making steady progress.
Let’s start with the lower half of the body
From a kneeling position as we go back into a backbend the legs need to be very strong. I would say this is often overlooked at how much leg strength is needed to practice Kapotasana safely. The quadriceps must be very strong to support your weight to go back so that they don’t fatigue and you have plenty of power in reserve to come up after landing on your mat and potentially walking in.
This means that Laghu Vajrasana needs to feel fairly easy.
For myself and most of my students I recommend dropping the traditional version where you hold onto the ankles once this has been integrated and feels relatively easy for the ‘full’ version as practiced in Iyengar yoga.

The Ashtanga version of Laghu where you hold the ankles to go up and down
Full Laghu Vajrasana
When you can lower down to the floor with ease and control in the ‘full’ version of Laghu, then I would say your legs are strong enough to practice Kapotasana safely.
Also, using your arms in this way as shown above, teaches you how to pull yourself into a deeper backbend, without compressing your low back so you can take the movement into your upper back. More on this later.
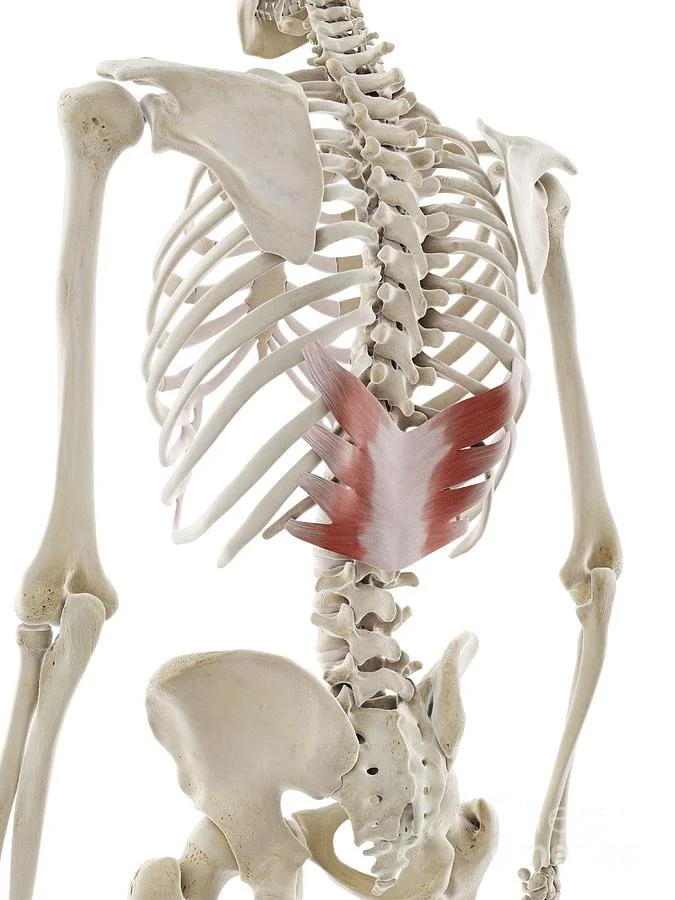
We need long and strong hip flexors to back bend safely where the the psoas plays a key role in how much we can bend our back.
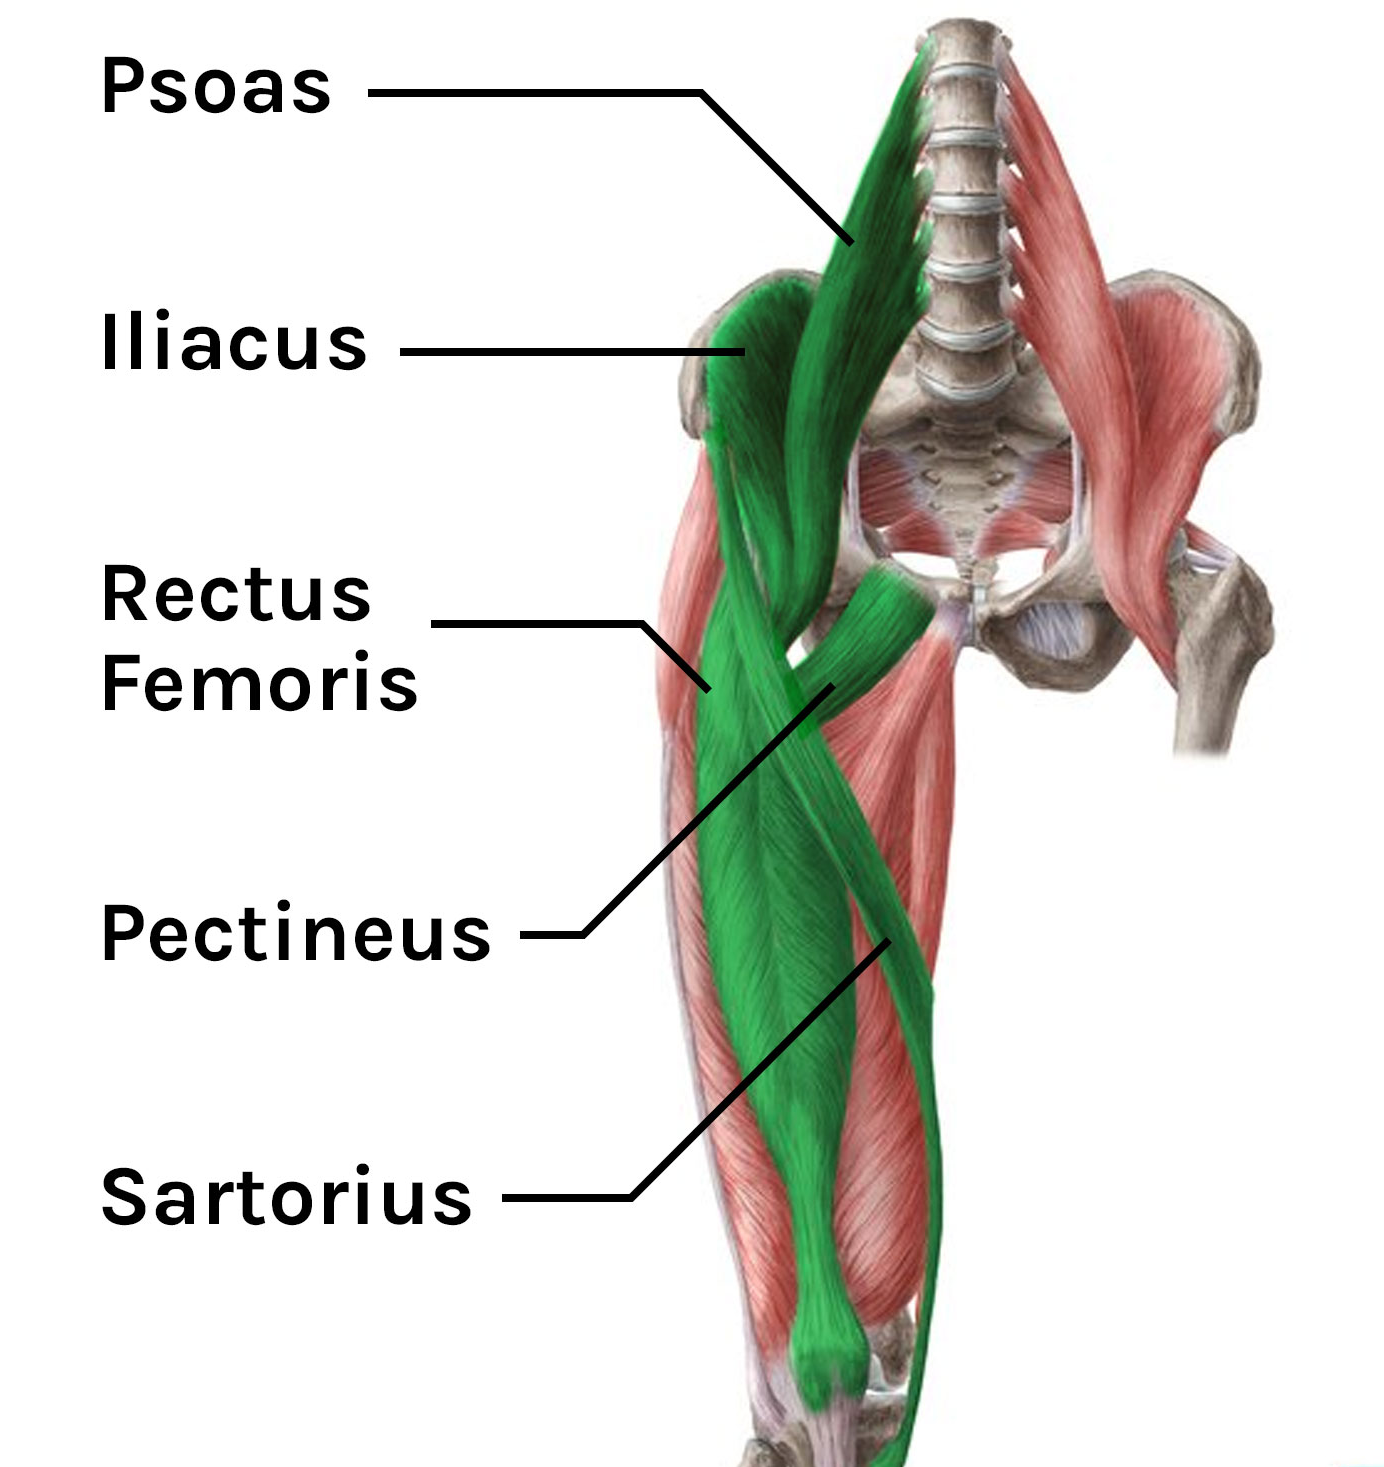
Hip flexors
A short psaos and rectus femoris will definitely restrict back bending as you can see from the image above, especially where the psoas connects to the lower vertebrae of the spine. If you are working properly in a mysore room and getting consistent adjustments in the back bends leading up to Kapotasana, especially Bhekasana, then this should suffice for most people but some students and especially home practitioners will need more help.
Backs bends such as Supta Vajrasana will help a lot and adding variations on traditional lunges such as Anjaneyasana also into your back bend sequence will also help.

anjaneyasana
For full breakdown on anjaneyasana head to the following link:
Now lets look at the waist
As I have highlighted in my article on How to Drop Back. You can check out the article here for more details: Link.
Practitioners need to fully understand which muscles to activate and soften to back bend safely. Often I come across students who have been taught to pull the navel in towards the belly which in my opinion creates more tension and takes the spine into flexion. We want to be able to extend the spine and bend our back to go deeper.
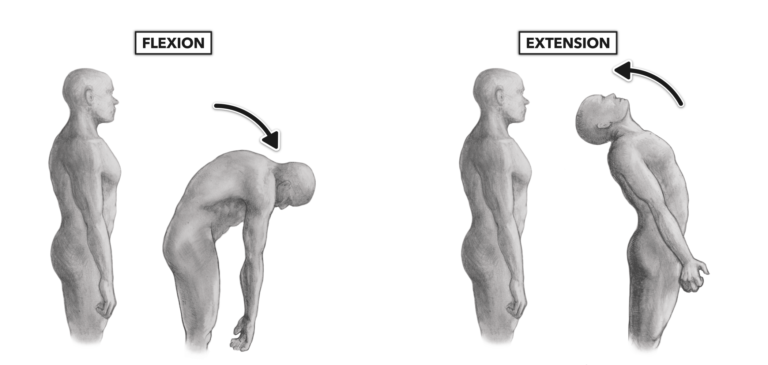
Spinal extension / back bending
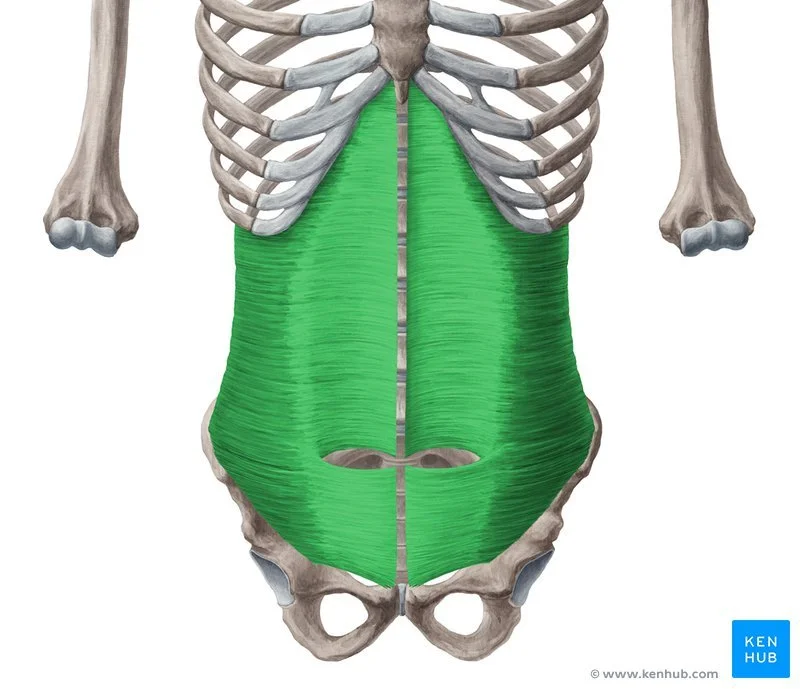
To create extension in the spine we must learn how to push our belly out and forward. This engages the rectus abdominis and tones the oblique muscles as you go back.
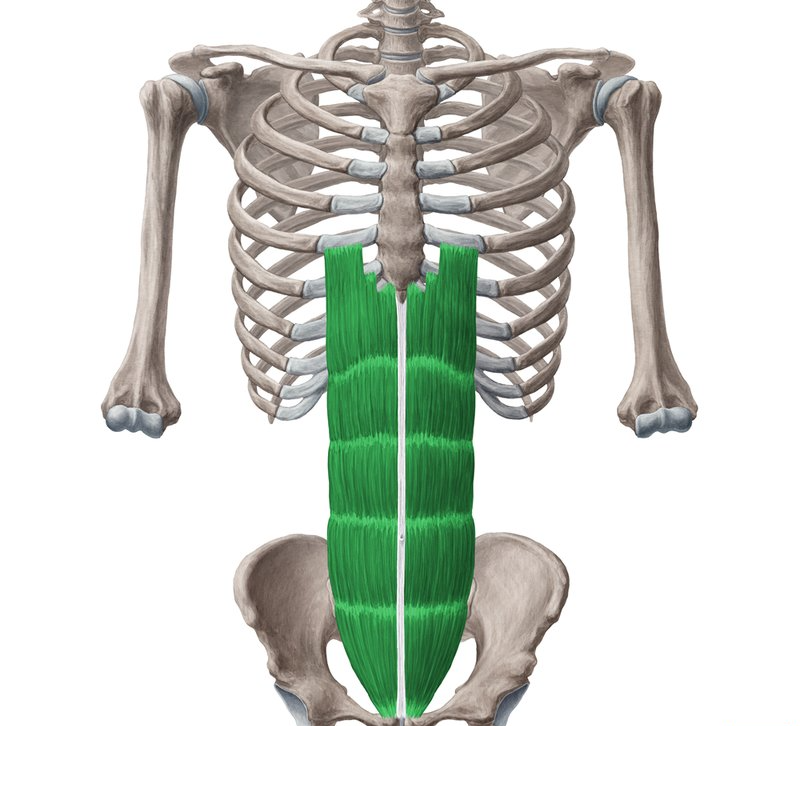
Active and engaged rectus abdominis
Engaging the 6 pack muscles stabilies our spine so we can soften the lumbar muscles necessary to back bend. Push out not pull in.

Toned, but soft obliques
Toning the obliques, where they are working but not locked tight allows our back to bend. If the obliques are engaged too strongly this activates the belt muscles of the transverse abdominis and restricts spinal extension.
‘The transverse abdominis is a deep, horizontal abdominal muscle that stabilizes the trunk and increases intra-abdominal pressure, acting like a natural corset. In contrast, the obliques (internal and external) are muscles on the side of the abdomen that run at an angle and are primarily responsible for twisting and bending the trunk.’
Transverse abdominis
Think of doing a forced exhale and you will feel how the belt muscles around your waist contract and inhibit bending backwards.
As you cultivate the necessary actions to back bend you will need to take your sacrum into Nutation to be able to access your upper back.
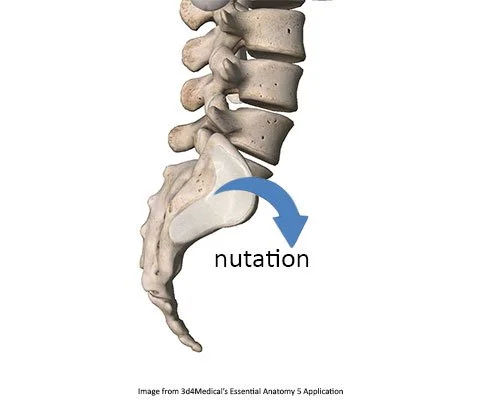
Nutation
This movement of the sacrum with respect to the pelvis is necessary to open the front of the hips and the upper back. Think of lengthening the front of the pelvis as it goes down.
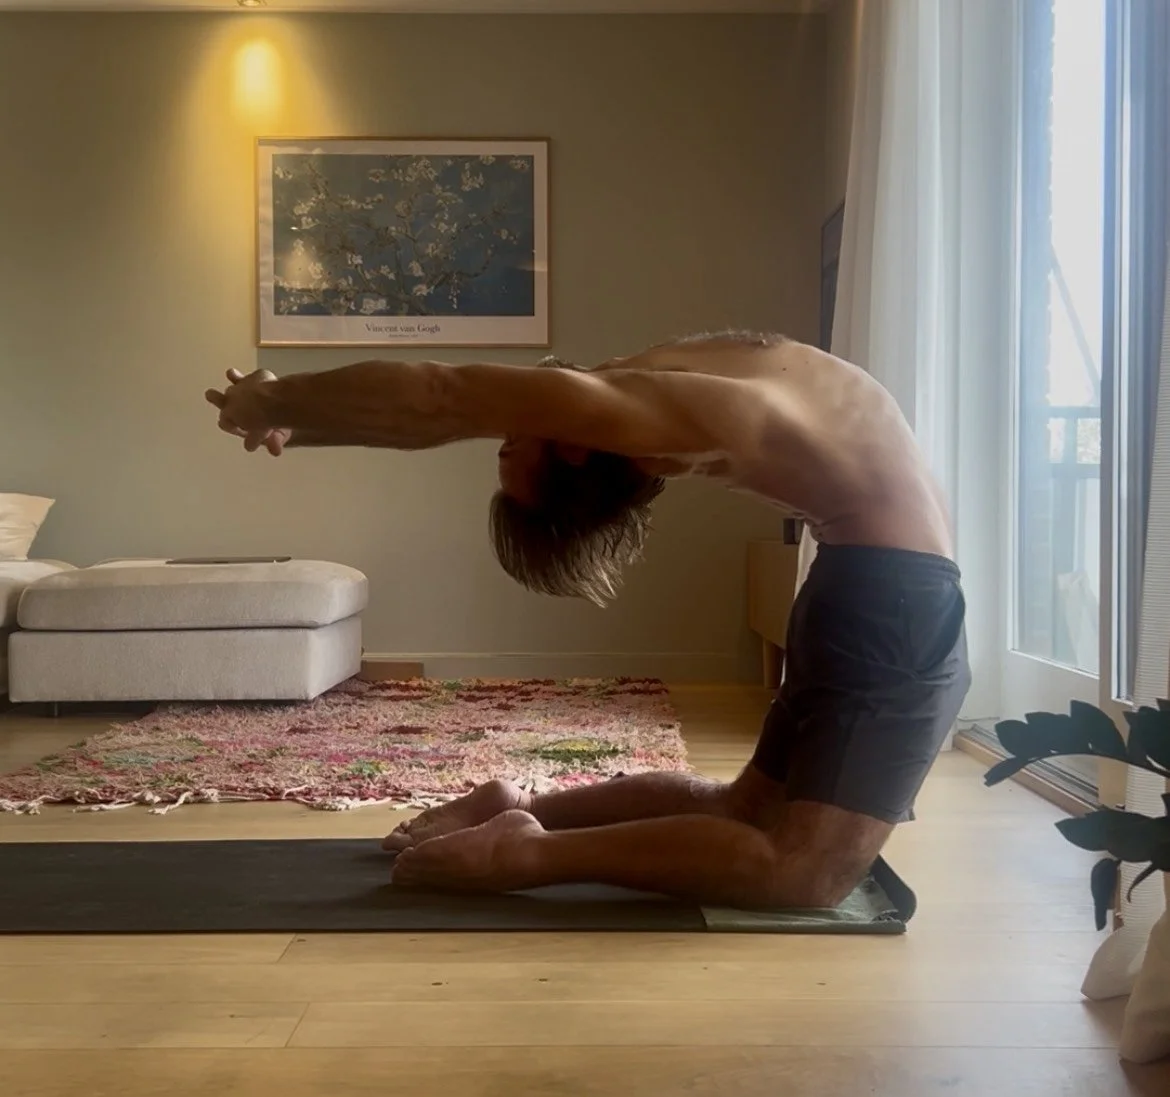
How to breathe
Breathing fully in a backbend is challenging, but especially Kapotasana.
As you bend backward, your diaphragm compresses and it becomes harder to breathe the deeper you go. This is why we need to keep the diaphragm ‘open’ as we go backward.
When you inhale fully from your diaphragm, the muscle contracts and expands. As it expands out and wide, the rib cage opens to the sides and the back. At the same time the muscle pushes down which aids in creating the necessary space to back bend deeply.
This action is extremely important to learn to prevent injury when practicing Kapotasana.
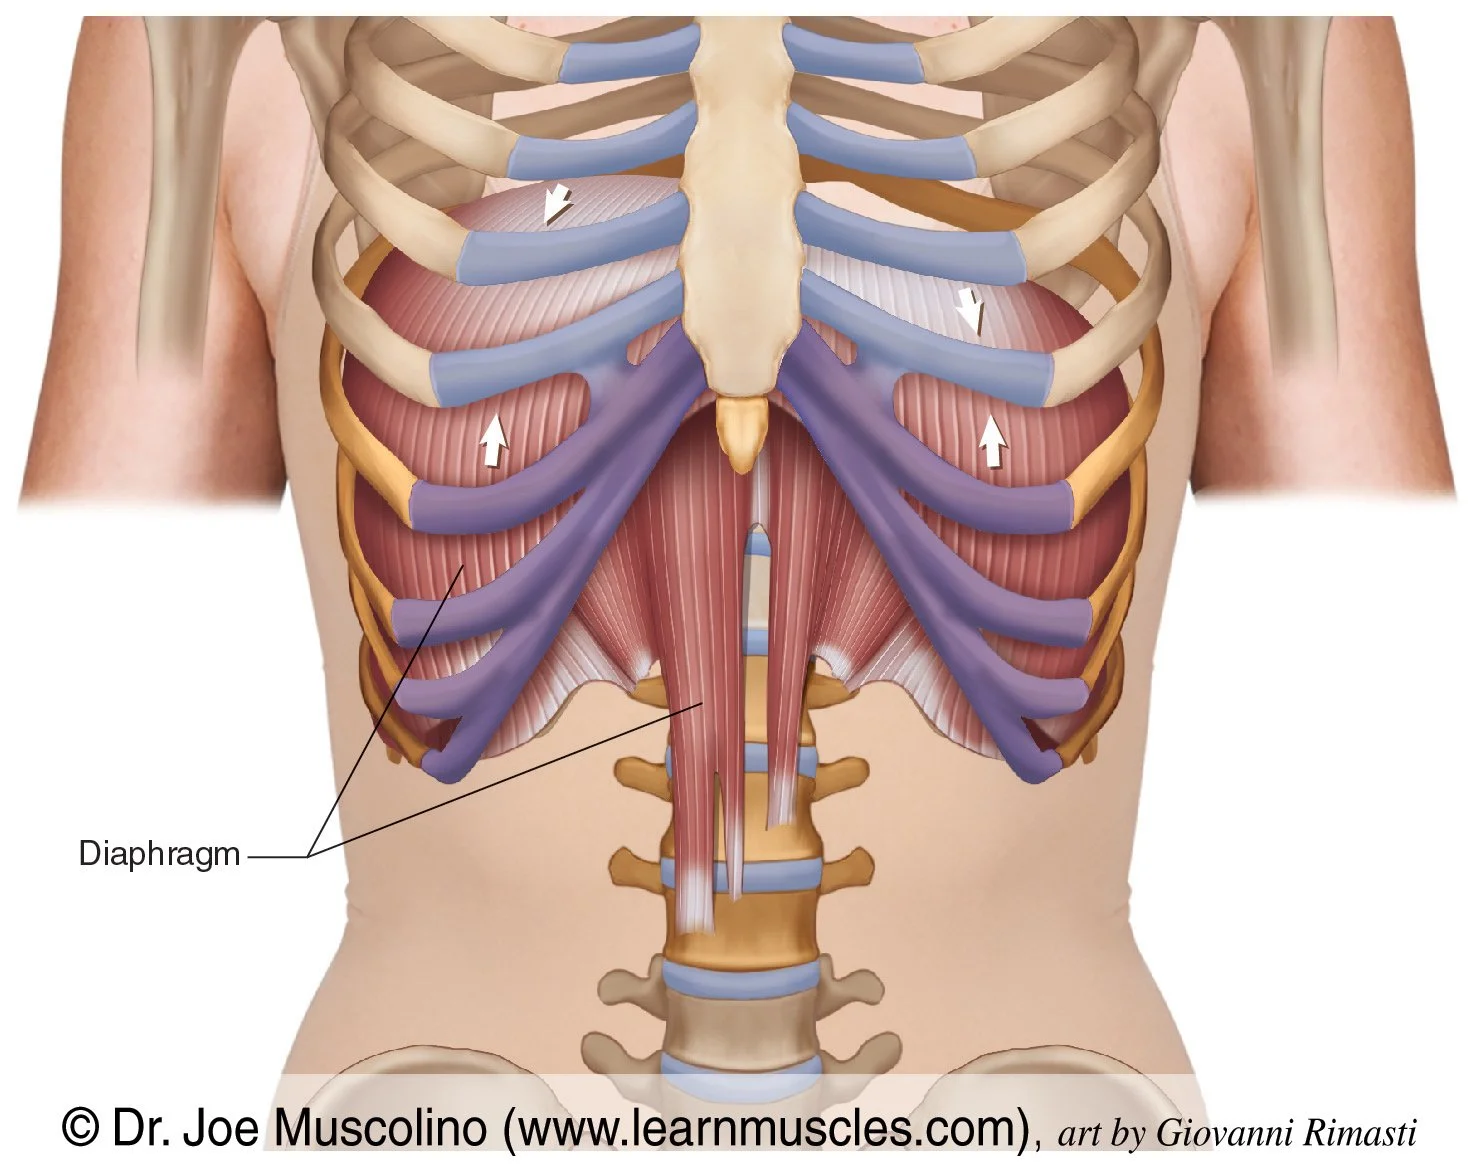
Diaphragm
The diaphragm also connects to the Psoas which lengthens when we breathe fully, wide and down.
As you go backward in Kapotasana you should be able to hang and breathe fairly comfortably at the same time. This ability to hang and breathe is essential to cultivate the necessary strength in your back and diaphragm so that you don’t compress your low back and create more tension.
Hanging
This can take some time to cultivate and make space. Often I will give my students some extra openers using a swiss ball to help find the necessary openness which you can have a look at here: Link
Now let’s look at the shoulders
I’ve written a few articles previously that go into more details about the shoulders in a back bend where we bring our arms over our heads which you can read about here.
What mostly restricts the shoulders from going into external rotation and flexion are tension in the rotator cuff muscles and lats ( latissimus dorsi ). You can read more about this here.
For help opening the shoulders for back bending check out The Online Studio for tutorials and asana breakdowns here:
Now when you land on your mat and start to walk in towards your feet, this is where we really start to see what those limitations might be.
Shortness in the psoas / hip flexors.
Tightness in the rotator cuff / lats.
Stiff and immobile thoracic region of the back.
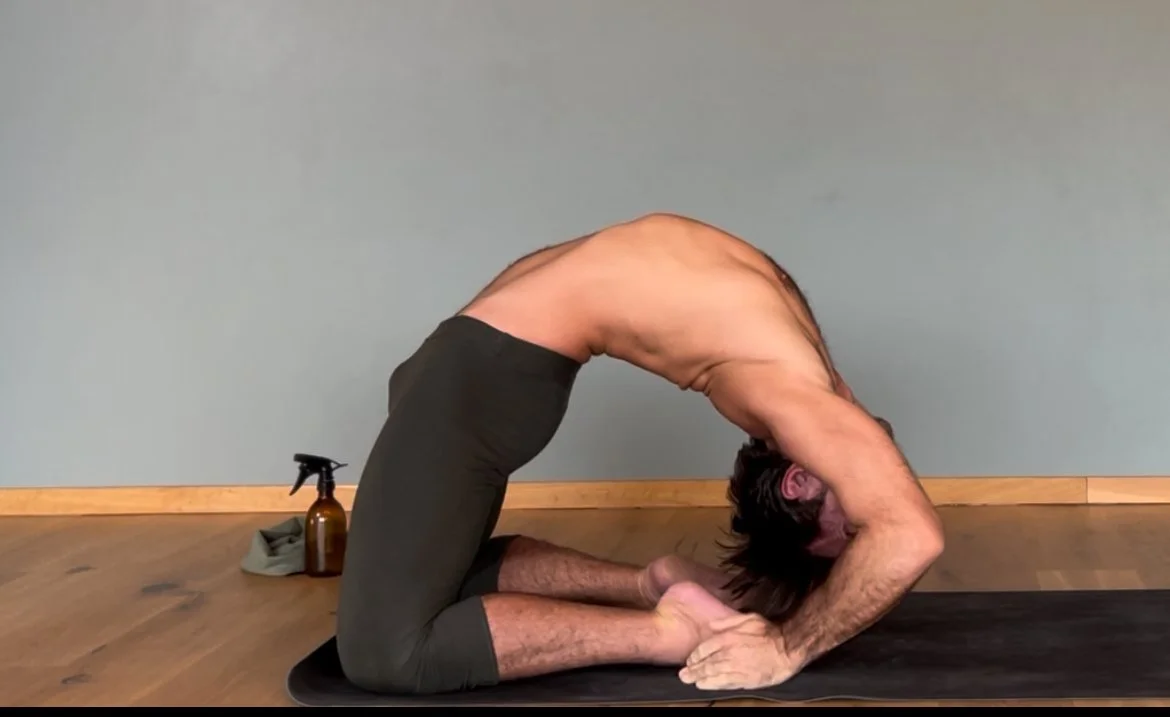
To be able to walk in towards the feet comfortably, all three of the above will need to be worked on to create the necessary openness and strength to catch the heels. This can take some time to go from here: Image below.
Hands far away but able to straigthen our arms
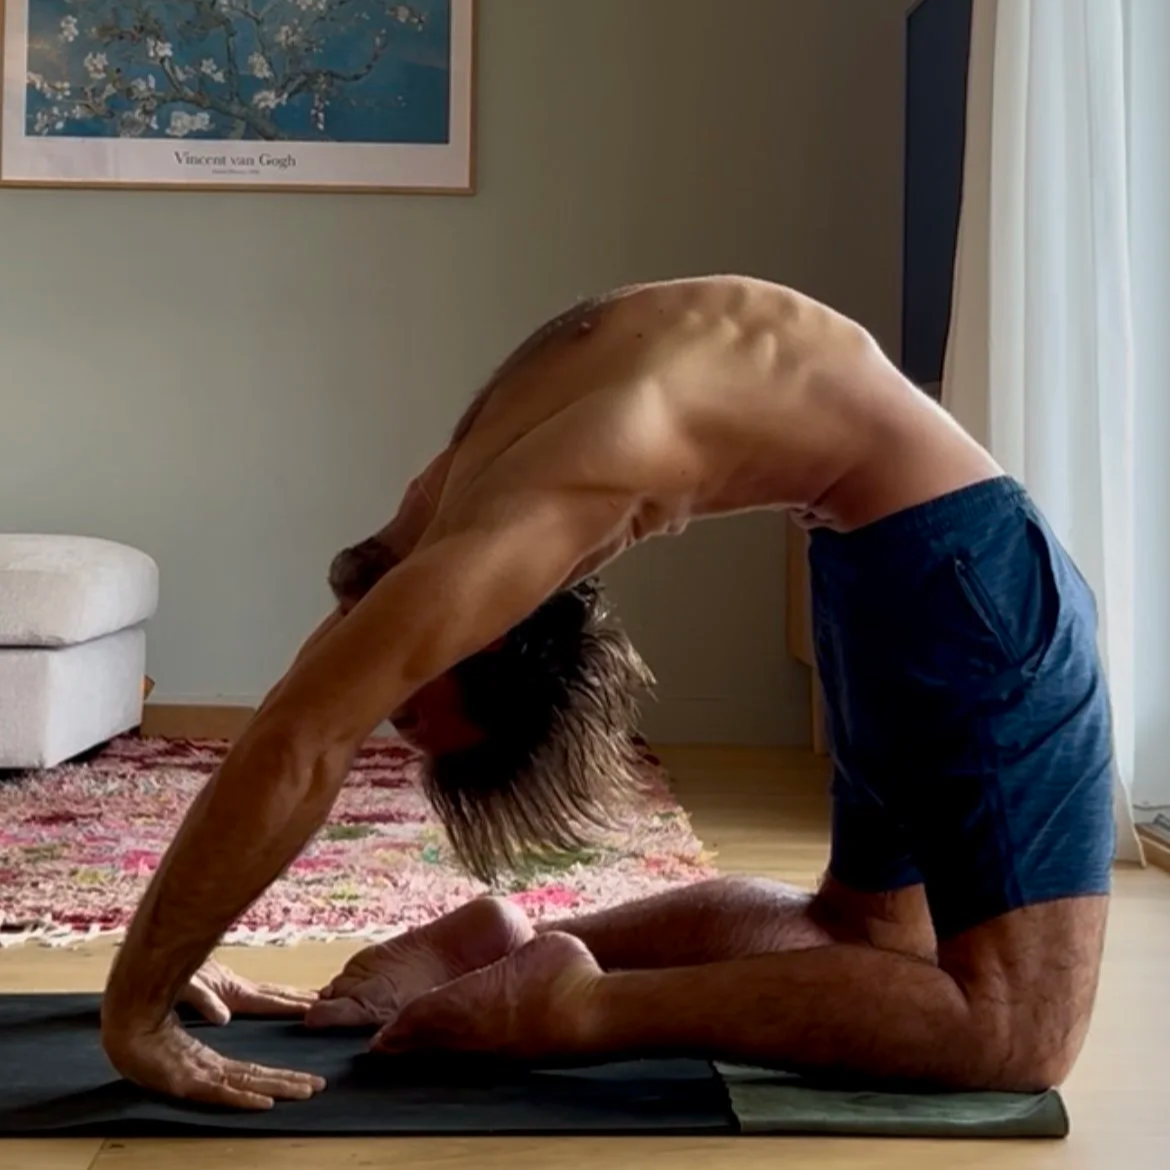
To here:
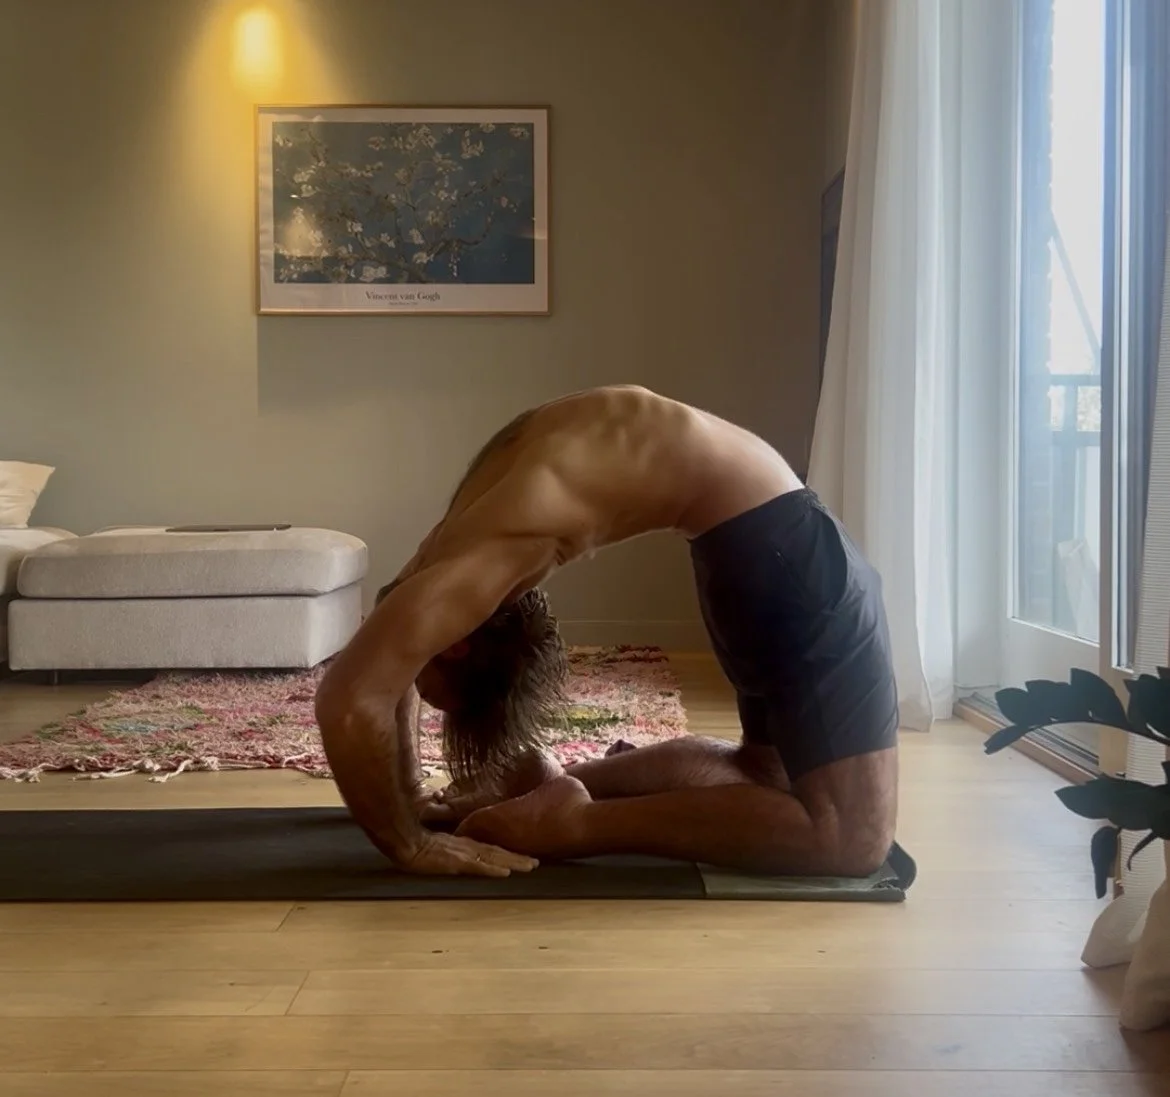
A lifted Kapotasana with space to walk in without ompression
Being able to push into the upper back / thoracic region without compressing the shoulder joint or low back is essential to having a safe Kapotasana.
serratus inferior posterior / creating space in the back of the ribs
The thoracic region in my opinion does move quite a lot and the fascia around this area needs to break down and soften so the scapula can move into it’s correct position so we can access the upper back.

Latissimus dorsi / This whole area and the deeper muscles below it must mobilise and soften to be able to access movement into the upper back
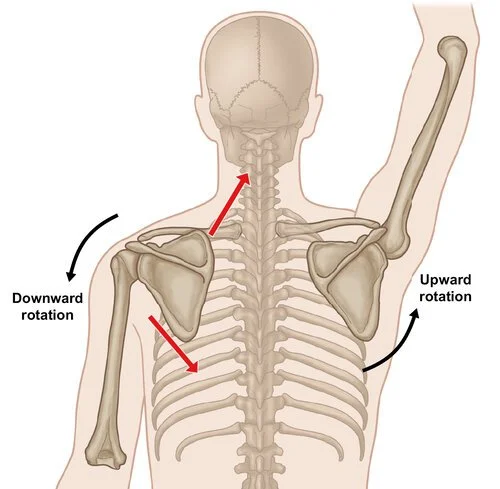
Scapula rotation / upward rotation to back bend
There are lots of openers I list in The Online Studio to help open the upper back and shoulders as stated before but here is a nice one you can do to help find the right feeling.
As you start to find space in the upper back you can then begin the journey to walk the hands in towards the feet where you can walk up to the outside of your feet and towards the heels.
Don’t rush this process and never walk in if your breath becomes too short or strained. It’s an indication you haven’t cultivated the necessary openness to back bend safely. Only walk in if it feels good and you can breathe well.
Walking in towards the ankles keeping the head lifted
Walking up the sides of the feet
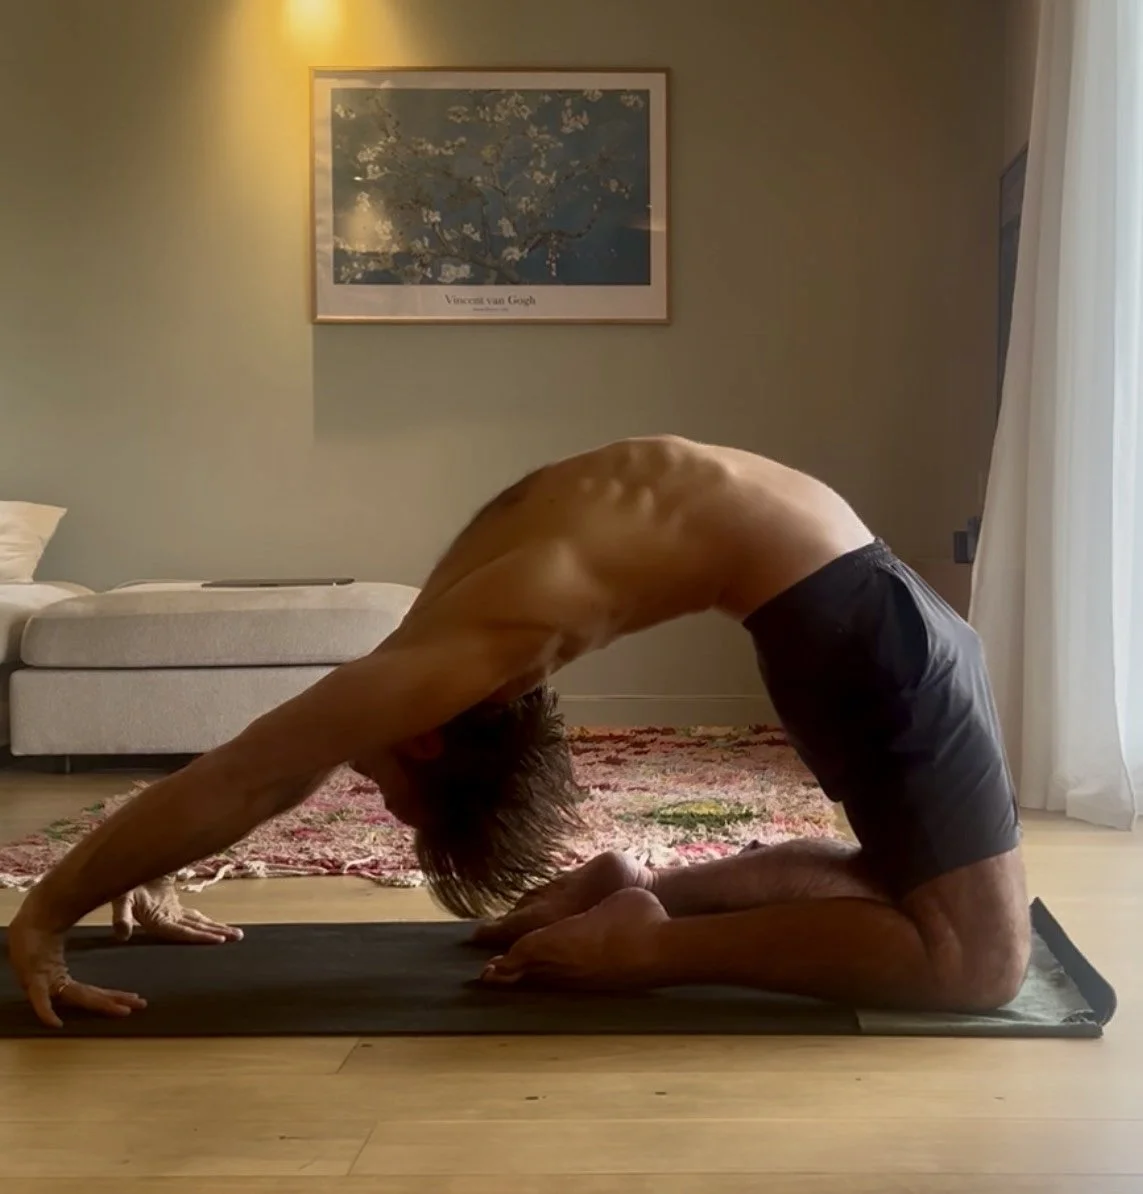
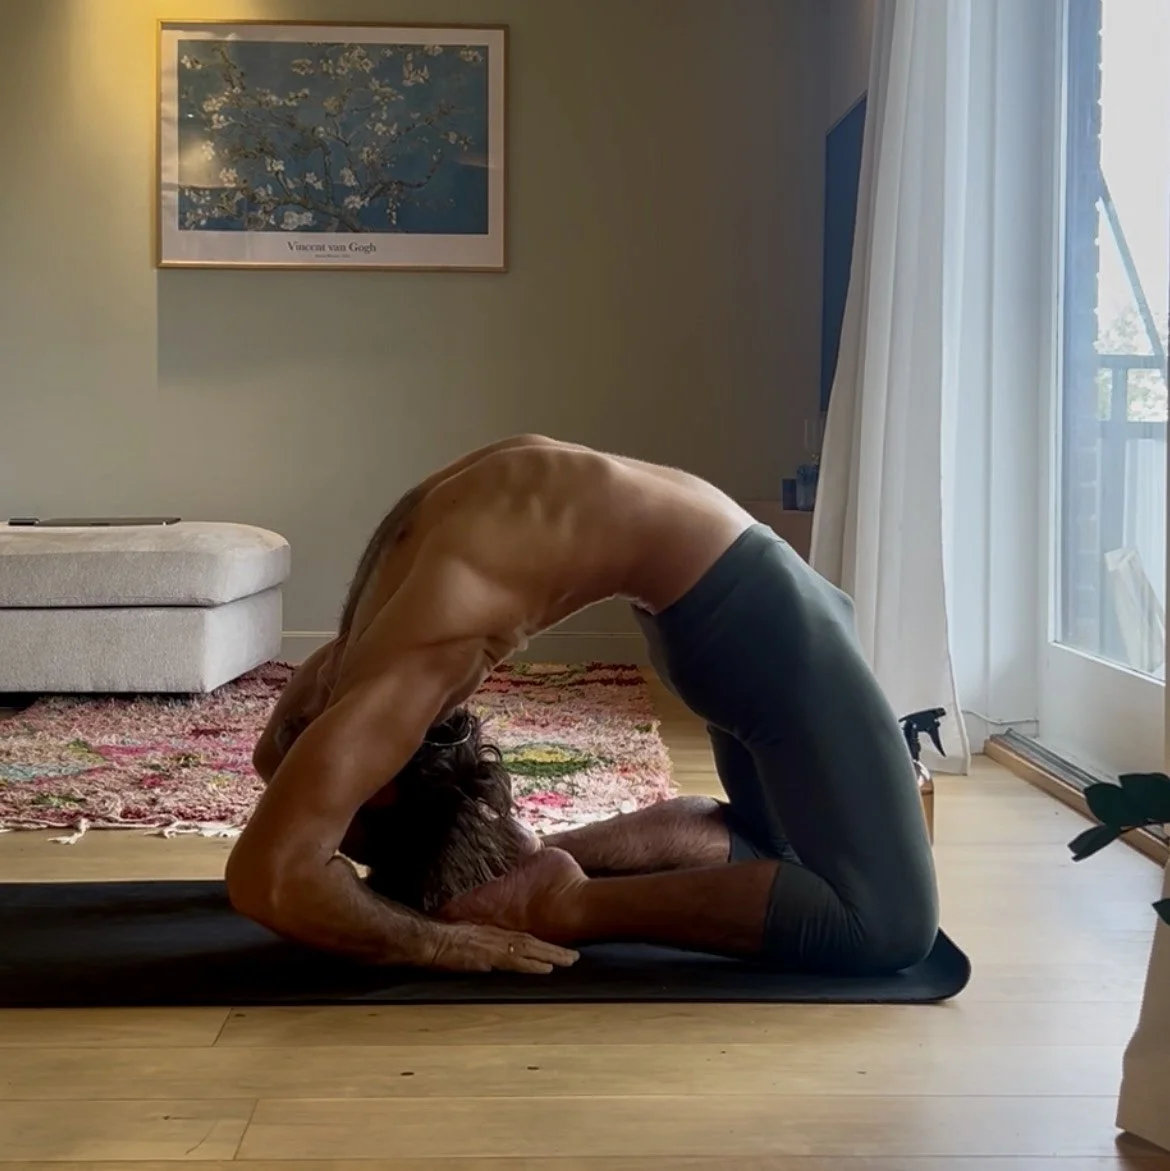
Kapotasana A where we catch the feet and rest the elbows on the floor is one aspect of the posture but to do this comfortably one should try to work as best they can in Kapotasana B.
Pushing with straight arms into the upper back with the legs working strongly to push the hips forward is what is ultimately going to improve the mobility of your back bend and to be able to walk in without compressing your shoulder joint and low back.
Kapotasana B
As a pep talk I can say that when I began Yoga my Bridge pose ( Urdhva Dhanurasana ) was like a coffee table, and with my background in sports and some broken bones it was a pretty long road to change my body. That said, with enough consistency and patience my body changed and I now love back bending.
Don’t give up and listen to the feedback of your body as it adapts and changes.
For more full Asana Breakdowns and help preparing your body for Primary Series head over to The Online Studio.
My Online Studio